 Ferndale Siding
 Building New in Sumas? Windows Set the Tone for Everything Else
If you're framing a new home in or around Sumas, the windows are one of the few components that touch nearly every other trade on the job. The framer needs correct rough openings. The window installer needs to get flashing and the water-resistive barrier right before siding ever goes up. And the siding crew needs clean, square, properly-flashed openings to trim out. Get the window step wrong on a new build, and you're not just risking a leaky window — you're risking callbacks on framing, siding, interior trim, and drywall, sometimes years down the road when a hidden leak finally shows itself.
New-construction windows are a different job than replacement windows. There's no old frame to work around, no compromises for an existing opening — but there's also no room to hide sloppy work behind trim, because the flashing and integration with the wall assembly is happening in the open, before the house is closed in. Done right, this is the easiest stage to get a window installation correct. Done wrong, it's the hardest stage to fix later.
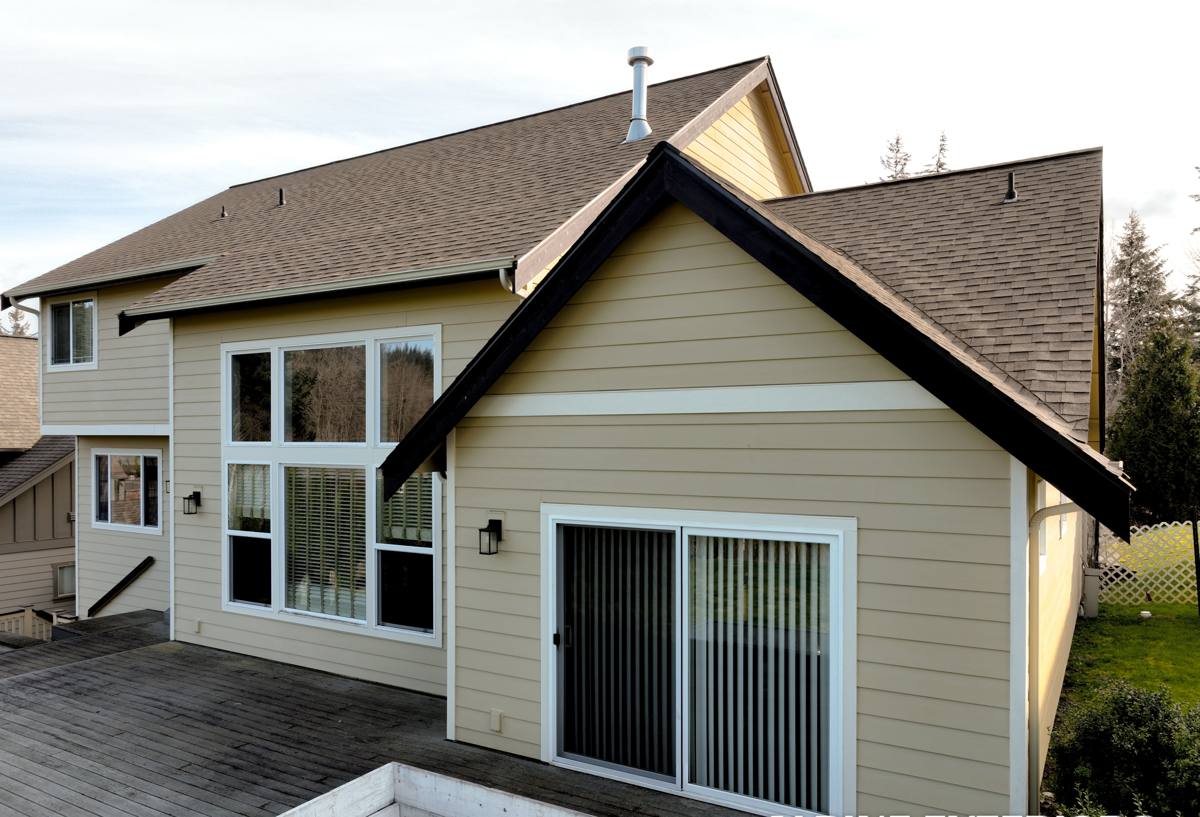
What Whatcom County's Climate Demands from New-Construction Windows
Whatcom County doesn't get extreme weather, but it gets persistent weather — and persistent is what wears a building envelope down. Whether a new build sits closer to the salt air off Bellingham Bay or further inland near Sumas, the same basic pattern holds across this part of the county: long stretches of driving rain, high humidity, and a moss season that can run most of the year on north- and shade-facing walls.
Driving Rain and Wind-Driven Moisture
Rain here doesn't just fall straight down. Wind pushes it sideways against walls and up under sills, which is exactly the kind of moisture a correctly flashed window is designed to shed. A window that's caulked in but not properly flashed can look fine for years and still be feeding water into the wall cavity every time it storms.
Moss, Algae, and Prolonged Dampness
Shaded, north-facing walls in this region hold moisture longer than they would in a drier climate. That prolonged dampness is what feeds moss and algae growth on siding and trim, and it's also what accelerates rot wherever water gets trapped instead of drained. Window sills and the siding immediately below a window are common spots for this kind of slow, unnoticed damage.
Temperature Swings and Condensation
Whatcom County winters bring cold, damp air that can push interior condensation on lower-quality glass, and summer days can swing warmer than people expect. Window glass and framing need to handle both without excessive heat loss in winter or heat gain in summer.
Why New-Construction Windows Are Different From Replacement Windows
Replacement windows are built to fit into an existing frame, with the old exterior trim and cladding often left in place. New-construction windows are different — most have a nailing flange around the perimeter that gets fastened directly to the sheathing, then integrated with the wall's water-resistive barrier (WRB) and flashing tape before any siding or trim goes on.
That flange-and-flashing system is what makes new-construction windows more weather-tight over the long run, but only if it's installed in the correct order. The sequence matters as much as the materials: sill pan first, then the window, then jamb flashing, then head flashing lapped over the top — each layer shingled so water is always directed outward and down, never trapped behind the layer above it. Skip a step or install it out of order, and the window can look perfect from outside while quietly setting up a leak path into the wall.
Getting the Water Management Right: Flashing and the Rough Opening
This is the part of a new-construction window install that homeowners rarely see and almost never think about, because by the time siding is on, it's all hidden. It's also the part that determines whether the window performs for 20+ years or starts causing problems in five.
| Step | What Happens | Why It Matters in This Climate |
|---|---|---|
| Sill pan flashing | A sloped, sealed pan installed at the bottom of the rough opening before the window goes in | Gives any water that gets past the window a way to drain back out instead of pooling in the framing |
| Window installation | Window set, leveled, plumbed, and fastened per the manufacturer's specs | An out-of-square or improperly shimmed window stresses the frame and can compromise the seal over time |
| Jamb flashing | Flashing tape applied over the side flanges | Directs wind-driven rain around the sides of the opening |
| Head flashing | Flashing installed above the window, lapped over the WRB below and behind the WRB above | The single most important layer for shedding driving rain — done backward, it channels water straight into the wall |
| WRB integration | House wrap or building paper lapped correctly over all flashing layers | Ties the window into the whole-house drainage plane so it works with the siding, not against it |
Choosing the Right Window for a Sumas Build
Frame material is mostly a question of maintenance, cost, and how the window will hold up to sustained moisture exposure — not just upfront price.
| Frame Type | Upfront Cost | Moisture Tolerance | Maintenance |
|---|---|---|---|
| Vinyl | Lowest | Good — won't rot, some flex in temperature swings | Low — occasional cleaning |
| Fiberglass | Mid to higher | Excellent — very stable, minimal expansion/contraction | Low |
| Wood / wood-clad | Highest | Depends heavily on the cladding and how well the exterior is sealed | Higher — exposed wood needs upkeep; cladding reduces this |
| Aluminum | Moderate | Poor thermal performance, prone to condensation in this climate | Low, but energy performance suffers |
For a new build in this area, we generally steer homeowners toward vinyl or fiberglass frames for the bulk of the house, reserving wood-clad or specialty units for feature windows where the look matters more than raw exposure. That's not a knock on wood windows — it's a maintenance conversation. A wood-clad window on a covered porch behaves very differently than the same window on an exposed, rain-facing wall.
Glass Performance
Double-pane, low-E glass is standard for new construction in Washington, and for good reason — it cuts winter heat loss and summer heat gain while reducing condensation risk on the interior pane. Argon-filled units add a modest efficiency bump for a relatively small cost difference.
Washington Energy Code and What It Means for Your Windows
New construction in Washington has to meet the Washington State Energy Code, which sets maximum U-factor (heat loss) requirements for windows as part of the whole-building energy budget. In practice, this means the glass package you choose isn't just a comfort decision — it's a code compliance item your builder or energy consultant will need documented. We work from the specified U-factor and SHGC (solar heat gain coefficient) targets for your project and select window packages that meet them, rather than leaving it to chance at the end of the build.
Our Installation Process
- Rough opening check: We verify every opening is square, plumb, and correctly sized before any window arrives on site — catching framing issues early is far cheaper than catching them after windows are ordered.
- Sill pan flashing: Installed and sloped to drain, before the window is ever set.
- Window set: Leveled, shimmed, and fastened to manufacturer specifications — not just "close enough."
- Flashing sequence: Jamb flashing, then head flashing, shingled correctly with the WRB so water always moves outward and down.
- Air seal and insulation: Gaps around the frame are sealed and insulated per code, avoiding both drafts and over-compression that can bow the frame.
- Final inspection: Every window is checked for operation, seal, and squareness before we sign off and the siding crew moves in behind us.
Checklist: What to Confirm Before Your Windows Go In
- Rough openings are confirmed square and correctly sized against actual window specs, not just plan dimensions
- Sill pan flashing is specified and installed before window placement
- Flashing sequence (sill, jamb, head) is planned to integrate correctly with your specific siding and WRB system
- Window U-factor and SHGC ratings meet Washington State Energy Code requirements for your project
- Frame material matches the exposure of each wall — not a one-size-fits-all choice across the whole house
- Manufacturer installation instructions are on hand and being followed (not just "how we've always done it")
- A clear handoff plan exists between the window crew and the siding crew so nothing gets covered up before it's inspected
Why a Crew That Already Works in Sumas Matters
New-construction window installation is a coordination job as much as a technical one. It has to line up with the framer's schedule, the siding crew's start date, and local building department inspections — and it has to account for a climate that doesn't forgive shortcuts. A crew that regularly works Whatcom County new builds already knows what local inspectors look for, how weather windows in this area affect sequencing, and how to flash a window so it performs through years of the driving rain and damp shoulder seasons this region is known for. That familiarity shows up in fewer surprises during framing, fewer change orders, and a window installation that's still performing exactly as installed a decade from now.
If you're planning a new build in Sumas and want windows installed correctly the first time — flashed right, sized right, and code-compliant — we're happy to walk your plans and give you a straightforward, no-pressure estimate. There's a form below to get started.