 Ferndale Siding
 Windows in Birch Bay Take a Different Kind of Beating
Birch Bay sits right on the water, and that changes what a window has to survive here compared to a house a few miles inland in Ferndale or Bellingham. You've got salt-laden air rolling off the bay, wind-driven rain that hits west- and north-facing walls almost sideways during winter storms, and long stretches of gray, damp weather that keep wood, vinyl, and seals wet for days at a time. Add in Whatcom County's moss season, which can run from fall through spring, and you have an environment that's genuinely harder on exterior building materials than most manufacturers' warranty testing accounts for.
Salt air is corrosive to lower-grade metal hardware, latches, and balance systems. Driving rain finds any gap in flashing or sealant and pushes water uphill against gravity. Sustained moisture feeds rot in wood-framed windows and breaks down cheap weatherstripping faster than it would in a drier climate. None of this means Birch Bay homes need exotic materials — it means the installation details have to be right, and the products chosen need to be rated for coastal exposure, not just "energy efficient" on a spec sheet.
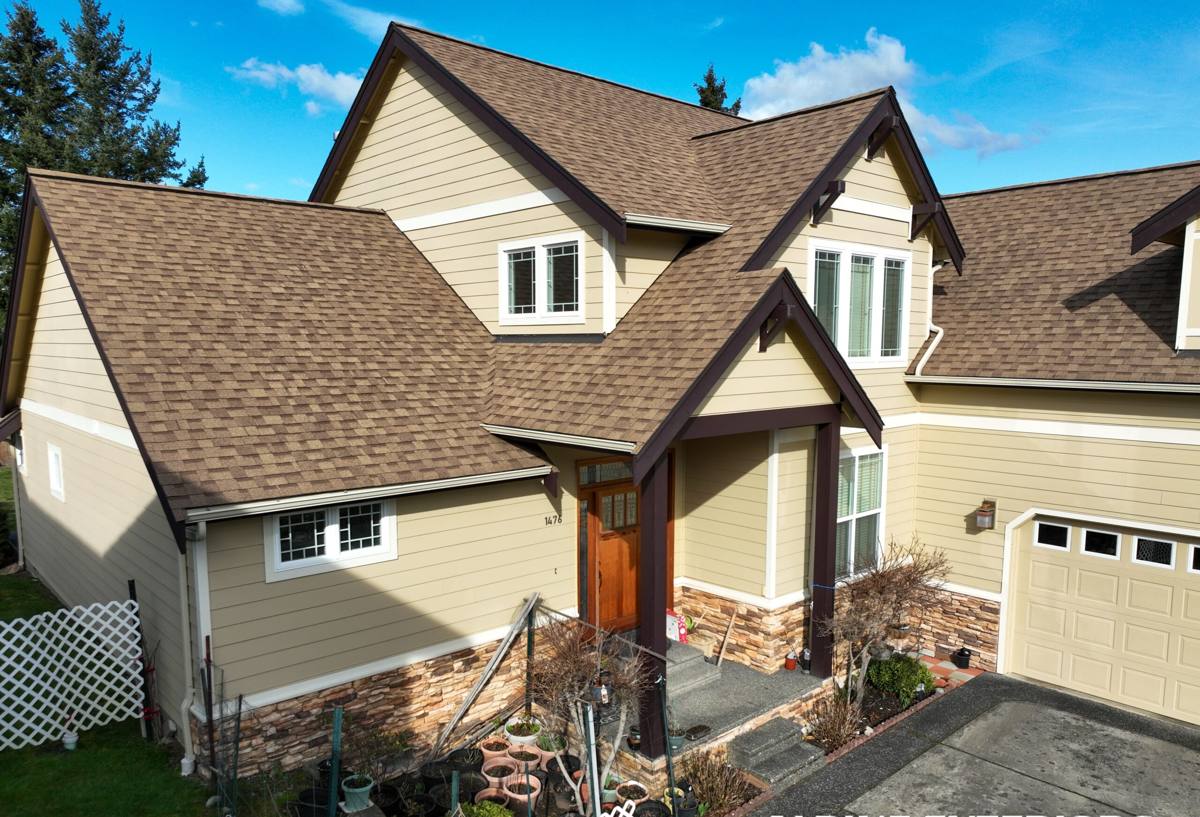
Signs a Birch Bay Home Needs Window Replacement
Not every drafty window needs full replacement — sometimes it's a caulking or weatherstripping fix. But in a coastal environment like this, certain signs point to a window that's past the point of repair:
- Fogging or a permanent haze between double-pane glass — the seal has failed and the gas fill is gone
- Soft or spongy wood at the sill or lower frame corners, especially on walls that face the water or prevailing wind
- Visible corrosion or pitting on hinges, cranks, or locks
- Drafts you can feel even with the window fully latched
- Paint that keeps bubbling or peeling at the frame no matter how often it's redone
- Difficulty opening, closing, or locking — frames can swell and warp with repeated wet/dry cycles
- Visible moss or dark streaking on the exterior trim around the window
If you're seeing more than one or two of these, replacement is usually more cost-effective long term than another round of patching.
What a Correct Window Replacement Job Involves
It Starts Before the New Window Ever Shows Up
The single biggest factor in how a replacement window performs in Birch Bay isn't the window itself — it's the flashing and sealing detail around the rough opening. A premium window installed with sloppy flashing will leak. A mid-grade window installed correctly, with proper flashing tape, a sloped sill pan, and backer rod and sealant at the right joints, will hold up for decades. We treat every opening as a chance to correct whatever the original builder did, since older Whatcom County homes weren't always built with today's moisture-management standards.
The Installation Sequence
- Remove the old window and inspect the framing, sill, and sheathing for hidden rot or water staining
- Repair or replace any compromised framing before anything new goes in — this step gets skipped by corner-cutting crews and it's the number-one cause of early failure
- Install a sloped sill pan so any water that does get past the window drains back outside instead of pooling
- Set the new window, shim it plumb and square, and fasten per the manufacturer's specification
- Flash the head, jambs, and sill in the correct shingle-lap order so water always sheds downward and outward
- Insulate the gap between frame and rough opening — not overpacked, which can bow the frame, and not left empty, which wastes energy and lets moisture track in
- Seal and trim the interior and exterior, matching existing trim profiles where we're not doing a full trim replacement
Skipping the sill pan or the shingle-lap flashing order is the most common shortcut we see undoing other people's work in this area — it's invisible once the trim goes back on, but it's the difference between a window that sheds water for 30 years and one that starts rotting the wall behind it in five.
Choosing the Right Window for a Bay-Facing Home
Frame Material
Vinyl and fiberglass frames handle coastal moisture and salt air better than bare wood, which needs consistent repainting and is more vulnerable to rot at the sill if maintenance ever lapses. Fiberglass holds up especially well against the expansion and contraction that comes with the Pacific Northwest's temperature swings and near-constant humidity. Wood-clad options exist and can look great, but they come with a higher maintenance commitment that's worth being honest about upfront — a homeowner who wants that look needs to plan on staying ahead of the cladding seams and touch-up work, especially on bay-facing elevations.
Glass and Hardware
Double-pane, low-E glass with argon fill is the baseline we recommend for this area — it manages both the region's heat-loss concerns in winter and glare/heat gain in the brighter summer months. For homes with direct bay exposure, we pay close attention to hardware finish and grade; standard mill-finish hardware corrodes faster in salt air, so look for hardware rated for coastal or marine-adjacent use.
Comparing Common Options for Coastal Exposure
| Factor | Vinyl | Fiberglass | Wood / Wood-Clad |
|---|---|---|---|
| Salt air / moisture resistance | Good | Excellent | Fair — needs upkeep |
| Maintenance burden | Low | Low | High |
| Upfront cost | Lower | Mid-to-higher | Highest |
| Dimensional stability in temp/humidity swings | Good | Excellent | Fair |
| Typical lifespan with proper install | 20–30 yrs | 30+ yrs | 20–30 yrs with upkeep |
We'll walk through these trade-offs against your home's exposure, your budget, and how the window needs to look with your siding and trim before recommending a specific product line.
Cost Factors for Birch Bay Window Replacement
There's no honest single number for "what windows cost" — too much depends on the specifics of the home. What we can tell you is what actually moves the price:
| Factor | Why It Matters |
|---|---|
| Number and size of windows | Larger openings and whole-house jobs shift per-unit cost due to labor efficiency |
| Frame material chosen | Vinyl, fiberglass, and wood-clad carry different material costs |
| Hidden rot or framing damage | Coastal moisture means we sometimes find compromised sheathing or framing that has to be repaired before the new window goes in |
| Access and site conditions | Second-story or hard-to-reach windows take more labor and scaffolding |
| New construction vs. retrofit vs. full-frame replacement | Full-frame replacement (removing trim and flashing entirely) costs more than an insert but corrects underlying problems an insert can't |
| Trim and interior finish work | Matching existing trim profiles or repainting adds labor beyond the window unit itself |
We give every homeowner a broad, honest range up front and a firm number after we've actually looked at the openings — we don't like surprise change orders any more than you do.
Why Insert vs. Full-Frame Replacement Matters Here
An "insert" replacement drops a new window into the existing frame, keeping the old exterior trim and flashing in place. It's faster and cheaper, and it's fine when the existing frame and flashing are sound. In a bay-facing home, though, we'll often recommend a full-frame replacement instead — pulling the old unit and trim entirely so we can inspect and correct the flashing and sill pan underneath. Given how much moisture this area sees, an insert installed over hidden rot or bad flashing just seals the problem behind a new window instead of fixing it. We'll tell you honestly which approach your home needs after inspecting the opening, not before.
Why a Crew That Already Works Birch Bay Matters
General contractors from outside the area sometimes underestimate how much the bay's exposure changes the job — they'll spec an inland-standard install and it holds up fine for a year or two before moisture finds its way in. A crew that regularly works Ferndale and the Birch Bay shoreline already knows which elevations take the worst weather, which older homes in the area tend to have outdated flashing details, and how moss and algae growth patterns here affect long-term trim and siding condition around a window opening. That local pattern recognition is what catches a problem during installation instead of two winters later.
We're a Ferndale-based crew serving Whatcom County, so Birch Bay isn't a special trip for us — it's regular work, and we bring the same coastal-install standards to every job here.
What to Expect From Our Process
- A free, no-pressure on-site estimate where we actually inspect your existing windows and framing — not just measure and quote
- A clear, written explanation of insert vs. full-frame replacement for your specific home, and why we're recommending one over the other
- An honest range up front and a firm number before work starts
- A crew that repairs any hidden rot or framing damage as part of the job, not as a surprise add-on
- Flashing and sealing detail work that meets coastal exposure standards, not just manufacturer minimums
- Cleanup and a final walkthrough so you can see and test every new window before we consider the job done
Maintaining New Windows in a Bay Climate
Even a correctly installed window benefits from a little seasonal attention here. Rinse salt residue off frames and glass periodically, especially after storms, since salt buildup can accelerate wear on hardware and finishes over years. Check weep holes at the bottom of the frame each fall to make sure they're clear of debris or moss — those small openings are what let any water that gets into the frame drain back out. And keep an eye on exterior caulking at the trim joints; UV and moisture cycling will eventually break down even good sealant, and catching it early is a five-minute fix instead of a bigger repair.
If you're seeing drafts, fogged glass, soft wood, or windows that just don't operate smoothly anymore, we're happy to take a look. Reach out for a free, no-pressure estimate — we'll assess your windows honestly and let you know whether you need a full replacement, a repair, or nothing at all.