 Ferndale Siding
 Windows Built for Life on Lummi Island
Lummi Island homes sit in one of the more demanding window environments in Whatcom County. You've got salt-laden air coming off the water, wind-driven rain that hits siding and window assemblies at an angle instead of straight down, and a long stretch of the year where moss, algae, and general dampness sit on every north-facing surface. Windows here don't fail because the glass breaks. They fail slowly, at the frame, the flashing, and the seals — and by the time you notice, moisture has usually been getting behind the trim for a while.
Custom windows means the units are sized, configured, and detailed for your specific openings and your specific exposure — not pulled off a shelf in a standard size and packed with shims. On an island property, that distinction matters more than it does inland, because there's less room for error in how a window is flashed and sealed before the marine climate gets a chance at it.
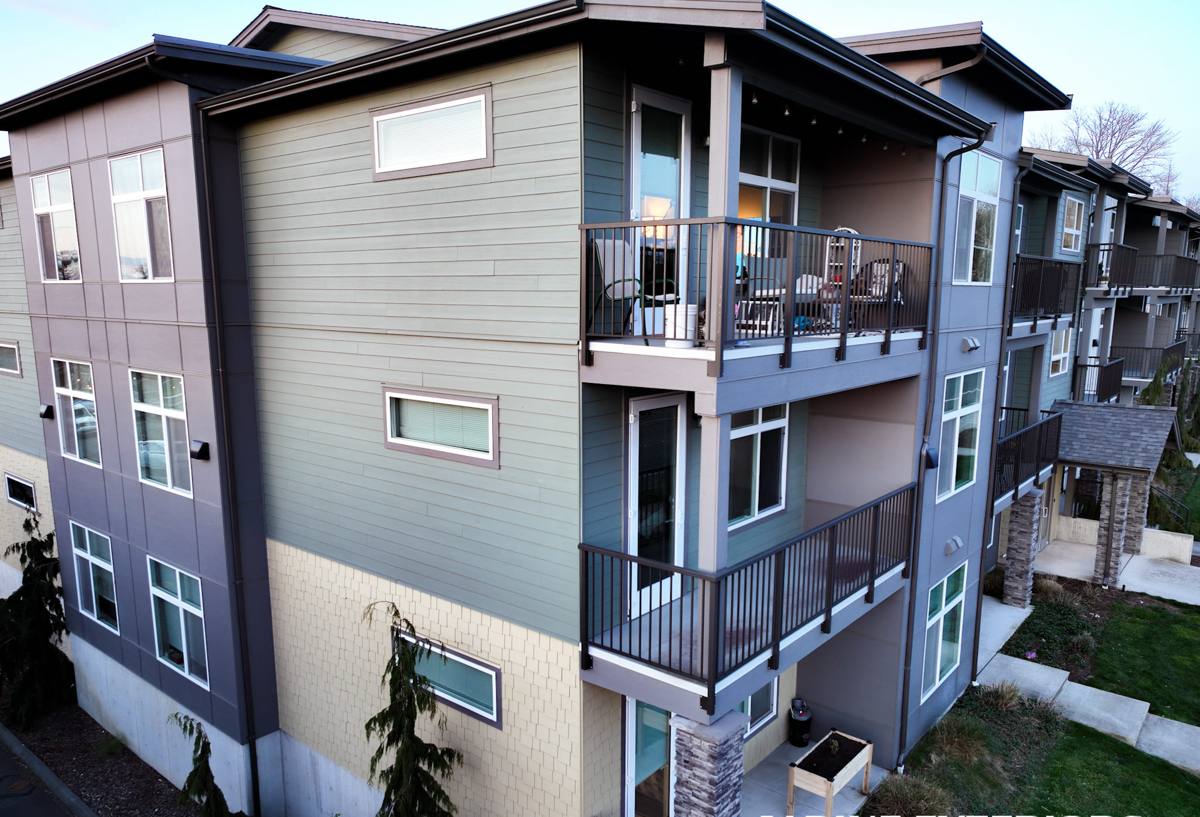
What "Custom" Actually Means Here
Custom windows can mean a few different things depending on the project, and it's worth being clear about which one applies to your home:
- Custom-sized units — non-standard rough openings, older homes with settled or slightly out-of-square framing, or additions where a stock size just won't fit cleanly.
- Custom configurations — picture windows paired with operable casements or awnings for cross-ventilation, bay or bow arrangements, or unusual shapes like arched or angled openings.
- Custom finish and hardware — exterior cladding color, interior wood species or paint-grade finish, and hardware finishes that match the rest of the home.
Most Lummi Island jobs we see involve at least the first two — older or architecturally distinct homes where a big-box standard window simply isn't going to fit or perform the way it should.
Why Standard Sizes Often Don't Work Here
A lot of homes in this area were built or added onto over decades, sometimes by different builders with different tolerances. Framing settles, especially near the shoreline where soil movement and moisture cycling are more common. When we show up to measure, we're not assuming the opening is square or that last year's "standard" size still fits — we measure each opening individually and build or order to match it, rather than forcing a stock unit in and packing the gaps with extra sealant and hope.
What the Climate Actually Does to a Window Over Time
It helps to understand the failure pattern specific to this area, because it changes what "correct installation" looks like.
| Climate Factor | What It Does to a Window | What a Correct Install Addresses |
|---|---|---|
| Salt-laden air off the water | Corrodes exposed fasteners, hardware, and cheaper aluminum cladding over years | Corrosion-resistant fasteners and hardware rated for coastal exposure |
| Wind-driven, sideways rain | Pushes water sideways into seams that would stay dry in a straight-down rain climate | Proper head flashing with a drip cap, and side/sill flashing that sheds water outward, not into the wall cavity |
| Long moss and algae season | Holds moisture against sills and trim for extended periods, feeding wood rot | Sealed, back-primed trim and sill materials that don't wick moisture, plus drainage gaps that let the unit dry out |
| Temperature swings, marine humidity | Causes condensation between panes or on interior glass if seals or glazing are marginal | Quality insulated glass units with intact seals, correctly rated for the local humidity load |
What a Correct Custom Window Job Involves
Before the Window Ever Goes In
The old window comes out and we look at what's actually behind it — the sheathing, the framing, and any existing flashing. This is where a lot of hidden problems on island and shoreline homes show up: soft wood, old flashing tape that's failed, or trim that's been holding moisture for years without anyone knowing. If we find rot or compromised sheathing, that gets addressed before the new window goes in. Installing a beautiful custom window over a damaged opening just hides the problem for another few years.
The Flashing Detail Is the Whole Job
On a low-wind, low-rain site, sloppy flashing might not show up as a leak for years. On Lummi Island, with rain coming in sideways off the water, a flashing shortcut shows up fast. Correct sequencing — water-resistive barrier, sill pan, side flashing, then head flashing lapped over the top — is what actually keeps water out, not the caulk bead around the trim. Caulk is a backup, not the primary defense.
Sealing and Insulation Around the Unit
Gaps around the window frame need to be filled with an appropriate low-expansion foam or backer rod and sealant — not stuffed with fiberglass insulation, which does nothing to stop air and moisture movement. This is a small detail that gets skipped more often than it should.
Exterior Trim and Finish
Whatever trim material caps off the install needs to handle the same moss and moisture exposure as the rest of your siding. We match trim detailing to the surrounding siding so the window doesn't just perform well — it looks like it belongs on the house.
Choosing Materials for This Exposure
We steer clients toward window materials and finishes based on how they'll actually hold up here, not just upfront cost. A few honest trade-offs worth knowing:
| Frame Material | Coastal Performance | Maintenance | Trade-off |
|---|---|---|---|
| Vinyl | Good — won't corrode or rot | Low | Fewer custom color/finish options than wood or fiberglass |
| Fiberglass | Very good — dimensionally stable, resists moisture and salt exposure well | Low to moderate | Higher upfront cost than vinyl |
| Wood (clad exterior) | Good on the exterior face if cladding is intact; interior wood needs protection from humidity | Moderate — clad exterior, but interior finish needs periodic attention | Best appearance for custom/historic-style homes; more maintenance commitment |
| Bare aluminum | Poor to moderate near saltwater without a quality coating | Higher — prone to pitting and corrosion over time in this exposure | We don't recommend uncoated aluminum for shoreline exposure on this island |
None of these are "bad" products across the board — it's about matching the material to the exposure. A bare aluminum frame that's fine forty miles inland is a poor choice a few hundred yards from saltwater. That's a maintenance and longevity call, not a knock on the manufacturer.
Our Process for a Lummi Island Custom Window Project
- On-site assessment — we look at the existing openings, check for water damage or rot around current windows, and note the site's specific wind and rain exposure.
- Precise measurement — every opening is measured individually; we don't assume symmetry or standard sizing on older or settled framing.
- Material and configuration selection — we walk through frame material, glazing options, and configuration based on your budget and how exposed that particular wall is.
- Removal and opening inspection — old units come out, and we inspect the sheathing and framing before anything new goes in.
- Correct flashing and sealing — sill pan, side flashing, head flashing, and appropriate sealant sequencing, detailed for wind-driven rain.
- Trim and finish work — exterior trim matched to your existing siding and finished to shed water and resist moss buildup.
- Final walkthrough — we check operation, seals, and finish with you before calling the job done.
Why Local Experience on This Island Matters
Lummi Island isn't like every other neighborhood in Whatcom County. Access is different — most projects need to account for ferry scheduling when planning material deliveries and crew timing, which affects how a job gets sequenced compared to work in Ferndale proper or elsewhere on the mainland. A crew that's done work here already knows to plan around that instead of discovering it mid-project.
Beyond logistics, exposure varies a lot from one side of the island to another. A home facing open water takes a very different beating than one tucked into a more sheltered spot. We adjust flashing detail, material choice, and even how tight we spec the seals based on which side of the island — and which side of the house — we're working on. That's the kind of judgment that only comes from having actually worked the area, not from a generic install checklist.
Signs Your Current Windows Are Already Compromised
- Soft or discolored wood trim around the window frame
- Visible moss or algae growth on the sill or lower frame
- Fogging or moisture between panes of double- or triple-glazed units
- Drafts you can feel even with the window fully latched
- Difficulty opening or closing — swelling from moisture intrusion
- Paint or finish peeling specifically around the window opening, not the broader wall
- Visible corrosion on hardware, hinges, or latches
If you're seeing two or more of these, it's worth having someone look at the openings before the next wet season rather than after.
What This Typically Involves Cost-Wise
Custom window pricing depends heavily on size, configuration, frame material, and how much of the surrounding trim or sheathing needs attention once the old unit comes out. A single custom-sized replacement window with straightforward access generally runs less than a multi-window bay configuration or a job where we uncover rot that needs repair first. We'd rather give you an honest number after actually looking at your openings than a broad estimate that doesn't reflect what your home needs — every quote we give is based on the specific conditions we find, not a generic per-window rate.
If your Lummi Island home has windows that are original, aging, or just not holding up to the exposure anymore, we're happy to come take a look. Reach out for a free, no-pressure estimate — no obligation, just an honest read on what your home actually needs.