 Ferndale Siding
 Building New on Lummi Nation Land? The Windows Need to Match the Site
New-construction window installation is a different job than a replacement. On a replacement, you're working around an existing rough opening and an existing wall assembly. On new construction, the window is installed before the siding goes on, into a rough opening that's still open to the weather, tied directly into the house wrap, flashing, and framing that will determine how that wall performs for the next 30-plus years. Get it right at this stage and the window will shed water for decades with almost no maintenance. Get it wrong, and the first sign of trouble is usually hidden behind the siding until it isn't — stained sheathing, soft trim, or a musty smell in a wall cavity nobody thought to check.
For homes going up in and around Lummi Nation, that first install matters more than most places in Whatcom County. The peninsula sits right against Bellingham Bay and the Strait of Georgia, which means every new build here is fighting salt-laden air, wind-driven rain off the water, and a wet season that runs long and heavy. Windows installed correctly the first time save the homeowner a callback years down the road; windows installed carelessly tend to show it early.
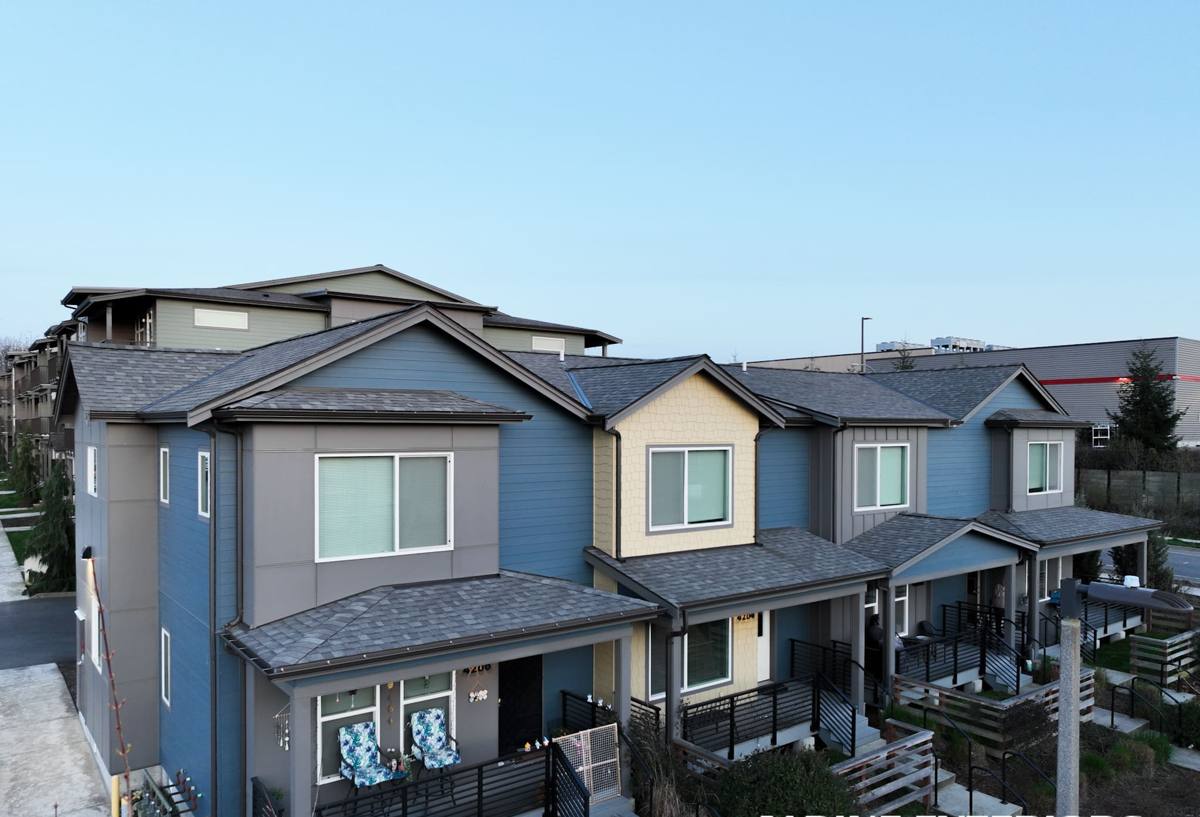
What the Local Climate Actually Does to New Windows
We've worked enough new builds along this stretch of coastline to know what to plan for before the first window ever gets set in the opening.
Salt Air
Proximity to saltwater accelerates corrosion on anything metal — hardware, screws, flashing, and cheaper vinyl or aluminum components that aren't rated for marine-adjacent exposure. It also degrades sealants faster than they'd wear inland. On new construction, this means choosing corrosion-resistant fasteners and flashing metals from day one, not retrofitting them later.
Driving, Wind-Driven Rain
Ferndale and the surrounding Whatcom County coastline get a lot of rain that doesn't fall straight down — it comes in sideways off the water during winter storms. A window opening that relies on caulk alone to keep water out will eventually fail. New-construction installs give us the chance to build redundant water management into the wall — proper flashing sequence, sloped sills, and correct integration with the weather-resistive barrier — so the window sheds water even when the caulk line eventually needs attention.
A Long Moss and Mildew Season
The damp, shaded microclimate around Lummi Nation keeps surfaces wet longer than drier parts of the county, which means moss and algae get a foothold on anything that stays damp — including window sills, trim, and the siding immediately around an opening. New windows installed with the right slope, drainage gap, and trim detailing shed water fast enough that moss has a much harder time establishing itself in the first place.
What a Correct New-Construction Window Install Actually Involves
A window is only as good as the opening it's set into. On new construction we control that opening from the start, which is the real advantage over a replacement job.
- Rough opening check: confirming the opening is square, plumb, and sized correctly before the window ever goes near it.
- Weather-resistive barrier integration: the house wrap or building paper has to be cut, lapped, and taped in the right sequence relative to the flashing so water is directed out, never in.
- Sill pan flashing: a sloped, sealed pan at the bottom of the opening so any water that gets past the window has somewhere to go besides the framing.
- Flange or fin sealing: the nailing flange gets sealed and fastened per the manufacturer's instructions — not generic caulk-and-hope.
- Head flashing: installed last, lapped over the side flashing, so water moving down the wall is shed past the window rather than into it.
- Shimming and fastening: the window is shimmed plumb, level, and square, and fastened without over-driving screws that can bow the frame and cause the sash to bind.
- Interior and exterior sealant: a continuous air seal on the interior and a weather seal on the exterior, with a gap left for drainage where the manufacturer specifies it.
Skip or rush any one of these steps and the window can look perfect for a year or two before a problem shows up. That's the trap with new construction — bad work hides behind finished siding and trim until the damage is already done.
Choosing the Right Window for a Coastal, High-Moisture Site
Material and glazing choice matter more here than in a drier inland build. Here's how the common options stack up for a Lummi Nation new-construction project.
| Window Type | How It Handles Salt Air & Moisture | Maintenance | Typical Fit for This Site |
|---|---|---|---|
| Vinyl | Good — won't corrode, though lower-grade vinyl can become brittle in UV/salt exposure over time | Low | Solid budget-friendly choice; stick with a reputable line rated for coastal exposure |
| Fiberglass | Excellent — dimensionally stable, resists moisture and salt corrosion well | Low | Strong option where the wall will take direct weather exposure |
| Aluminum-clad wood | Good exterior protection, but any breach in the cladding exposes wood to rot risk faster in this climate | Moderate | Works if detailing and maintenance are kept up; more sensitive to install quality |
| Bare wood | Poor without diligent upkeep — wood absorbs moisture and moss/mildew take hold quickly in this climate | High | We generally steer new builds away from this here unless the homeowner wants the look and commits to upkeep |
We're not against any of these products outright — the trade-off is about maintenance burden and how forgiving the material is if a seal ever gets compromised. On a site this exposed to salt air and driving rain, we lean toward materials that stay stable with the least upkeep, and we'll walk through the honest pros and cons for your specific build before you commit.
Our Process for New-Construction Window Installs
- Plan review and coordination: we review the window schedule with your builder or general contractor so sizes, styles, and rough openings match the plans before framing locks anything in.
- Site visit and opening verification: before install day, we confirm every rough opening is framed correctly and the weather-resistive barrier is ready.
- Flashing and install: sill pan, side flashing, window set, flange sealing, head flashing — done in the correct order, every time, not shortcuts.
- Interior and exterior sealing: air sealing inside, weather sealing outside, with attention to drainage where it's needed.
- Final walkthrough: we check operation, sightlines, and seal integrity before we consider the job done, and we coordinate with your builder on trim and siding tie-in.
If the project falls under Lummi Nation jurisdiction rather than Whatcom County's, permitting and building requirements can work differently than a standard county build. We coordinate directly with your builder or the relevant building authority so window specifications and inspections line up with whatever process applies to your project — that's a conversation we have up front, not something we leave you to sort out mid-build.
What Drives the Cost
| Factor | Why It Matters |
|---|---|
| Window material and glazing package | Fiberglass and higher-end vinyl cost more upfront but hold up better against salt air and moisture over time |
| Number and size of openings | More and larger windows mean more flashing, sealing, and labor time per opening |
| Coordination complexity | Working alongside a GC's schedule and other trades takes more planning than a standalone job |
| Site access and exposure | Waterfront or wind-exposed lots sometimes call for additional weatherproofing detail |
| Permitting/jurisdiction requirements | Projects under tribal jurisdiction may involve a different review process than county permitting |
Exact pricing depends on the specifics of your build — window count, material, and how the schedule lines up with your builder. We'll give you a straight number after seeing the plans, not a vague range that changes once we're on site.
A Quick Checklist Before Your Windows Go In
- Rough openings verified square, plumb, and to the correct dimensions
- Weather-resistive barrier installed and ready for proper flashing integration
- Window material and glazing chosen with salt air and moisture exposure in mind
- Sill pan flashing planned before the window ever gets set
- Installer following manufacturer flashing sequence, not a generic one-size-fits-all method
- Coordination confirmed between window installer and your GC on timing and trim details
- Any tribal or county permitting requirements identified before install day
Why It Matters to Hire a Crew That Already Works This Area
New-construction window work rewards familiarity with the site conditions. A crew that's installed windows across Ferndale and the surrounding Whatcom County coastline — including builds in and around Lummi Nation — already knows how the salt air, the rain angles, and the long wet season here behave differently than a typical inland job. That's not something you pick up from a manufacturer's install manual alone; it's knowing which details actually get tested by this specific climate and which ones are just paperwork. We'd rather spend an extra ten minutes on flashing sequence during install than have anyone come back in five years wondering why a wall went soft.
If you're building new near Lummi Nation and want windows installed right the first time, we're happy to take a look at your plans and give you a straightforward, no-pressure estimate — just fill out the form below.