 Ferndale Siding
 New-Construction Windows in Cordata: What the Job Actually Involves
New-construction window installation is a different trade than replacing an old window in an existing wall. On a new build, the window goes in before the siding, before the trim, and often before the house is fully wrapped. The rough opening is bare framing. That timing is an advantage if the crew doing the work understands water management — because everything that keeps a window dry for the next thirty years gets built in layer by layer, in a specific order, before anyone ever sees a finished wall. Get that sequence wrong and the mistake is invisible until a wall cavity starts showing rot, usually years later and usually in the corner of the opening that took the worst weather.
For homes going up in the Cordata area, that weather is a real factor, not a footnote. This part of Whatcom County sits in the same weather system as Ferndale: onshore flow off the Salish Sea, long stretches of driving rain rather than brief downpours, and a moss season that runs most of the fall through spring. Wind-driven rain doesn't just fall on a window — it gets pushed sideways and upward into any gap the installation left behind. A new-construction window installed correctly the first time avoids all of this. One installed on assumptions doesn't.
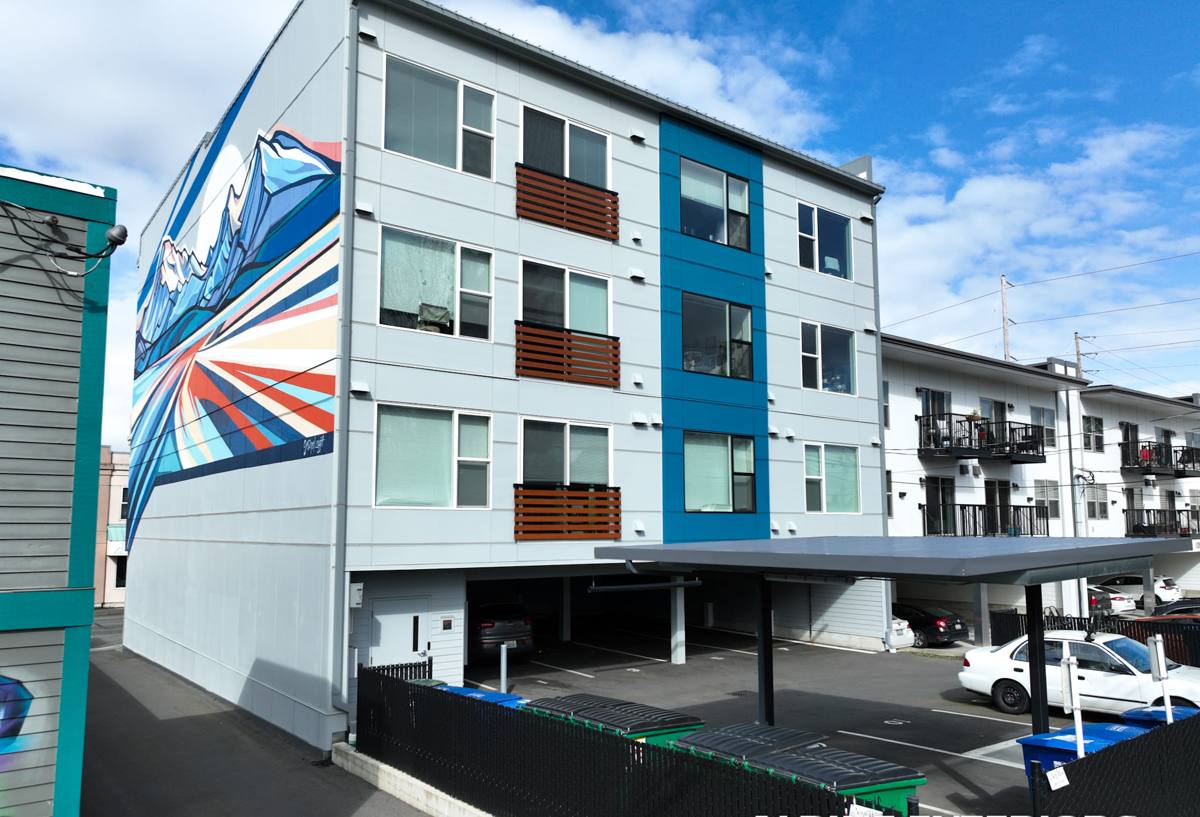
Why Local Climate Changes the Install, Not Just the Product
A window is a manufactured, tested unit before it ever reaches a job site. What determines whether it performs for decades is almost entirely the installation — the flashing, the sealant, the way water that does get past the glass and frame is directed back out instead of into the wall. In a drier climate, a mediocre installation might go years without showing a problem. In Whatcom County, driving rain finds every shortcut fast.
Three regional factors we build around
- Salt air: proximity to the Salish Sea accelerates corrosion on exposed fasteners, cheap flashing metal, and unprotected hardware — we spec materials that hold up to it.
- Driving rain: wind-driven moisture pushes water sideways and upward at the sill and jambs, so laps and seals have to work against gravity, not just with it.
- Moss and prolonged damp: extended wet seasons keep siding and trim surfaces damp longer, which is why the water that does get behind a poorly flashed window has more time to do damage before anyone notices.
New-Construction vs. Replacement Windows
Homeowners and even some builders use "window installation" as one catch-all term, but new-construction and replacement work solve different problems and use different hardware. Installing the wrong type, or installing a new-construction window like a replacement window (or vice versa), is one of the most common sources of long-term leaks we get called out to fix.
| Factor | New-Construction Window | Replacement (Retrofit) Window |
|---|---|---|
| Frame type | Nail fin around the perimeter | Flange-free, fits inside existing frame |
| When it's installed | Before siding and WRB are closed in | After the home is finished and occupied |
| Water management | Full flashing system tied into house wrap | Relies on sealant and existing wall condition |
| Access to framing | Open studs, fully visible | Limited or none — existing wall stays closed |
| Best fit for | New builds, additions, full wall reframes | Existing homes not being reframed |
New-construction windows use a nail fin — a flat flange around the outside edge of the frame — that gets fastened directly to the sheathing and then integrated into the weather-resistive barrier (WRB) with flashing tape or sheet flashing. That fin is what gives us the ability to build a genuine drainage plane around the opening, which is the entire point of doing the work at the framing stage instead of retrofitting later.
The Flashing Sequence That Actually Keeps Water Out
This is the part of the job that never shows once the siding goes on, and it's the part that matters most. Water management around a window opening works on the same principle as shingles on a roof: every layer overlaps the one below it, so water is always directed down and out, never trapped behind a lap.
The order we follow on every opening
- Cut and dry-fit the rough opening, checking it's square, level, and sized correctly before any flashing goes on.
- Install a sloped sill pan at the bottom of the opening so any water that gets past the window has a built-in path back outside instead of pooling on the framing.
- Flash the jambs (sides) so they overlap the sill pan.
- Set the window into the opening, level and shimmed correctly so it operates smoothly and doesn't stress the frame.
- Flash the head (top) last, so it overlaps the jamb flashing — this is the layer that has to shed wind-driven rain running down the wall above the window.
- Tie all of it into the house wrap in the correct shingle-lap order, and seal fastener penetrations at the nail fin.
Skip the sill pan, flash the head before the jambs, or staple the house wrap over the fin instead of lapping it correctly, and the window can look perfect from the outside while quietly feeding water into the wall every time it rains sideways — which, in this part of Whatcom County, is a normal Tuesday for a good chunk of the year.
Choosing Frame Material for a Whatcom County New Build
There's no single "best" window frame material — the right choice depends on budget, exposure, and how much upkeep the homeowner wants to do. For new construction in this climate, the trade-offs come down to how each material handles moisture, temperature swings, and salt-influenced air over time.
| Frame Material | Moisture / Salt-Air Behavior | Maintenance | Typical Cost Position |
|---|---|---|---|
| Vinyl | Won't corrode or rot; performs well in damp, salt-influenced air | Low — occasional cleaning | Most affordable |
| Fiberglass | Very stable through temperature swings, strong moisture resistance | Low | Mid to upper range |
| Wood / wood-clad | Attractive but needs a well-detailed exterior clad or finish to resist our wet season long-term | Higher — finish upkeep matters | Upper range |
| Aluminum | Strong and slim-profile, but prone to condensation and corrosion risk near salt air without a thermal break | Moderate | Varies widely |
We'll talk through these trade-offs honestly rather than push whatever's easiest to install. A wood-clad window can be the right call for a specific design goal, but we'll tell you upfront what kind of long-term care it needs in a climate that stays damp for months at a stretch — that's a maintenance conversation, not a knock on the product.
Our Process, Start to Finish
Whether we're working directly with a homeowner building in Cordata or coordinating with a general contractor on the framing schedule, the process stays consistent:
- Review the window schedule and rough openings against the plans before framing is finalized.
- Confirm opening sizes, egress requirements, and energy code compliance for the area.
- Install sill pans, jamb flashing, and head flashing in correct shingle-lap order on every opening.
- Set, shim, and fasten each window plumb, level, and square — then check that it operates smoothly before moving on.
- Tie flashing into the house wrap and seal fin penetrations.
- Walk the openings with the builder or homeowner before siding closes them in, since this is the last point anyone can visually confirm the flashing.
That last step matters more than people expect. Once siding and trim go on, the flashing work is permanently hidden. We'd rather have an extra set of eyes on it while it's still open than have anyone wondering later.
Why a Crew That Already Works Cordata Matters
Window installation on a new build isn't just a product install — it's a sequencing job that has to line up with framing, house wrap, and siding schedules, and it has to be built for the specific weather the house will actually face. A crew that regularly works the Cordata area and greater Ferndale knows what "normal" wind-driven rain looks like here, knows how long the wet season really runs, and doesn't have to relearn regional water-management basics on your project. That familiarity shows up in details — sill pan slope, fastener choice, how tight the head flashing lap is — that are easy to shortcut and expensive to fix once a wall is closed.
It also means someone local to answer questions during the build, not a crew that installs and moves on to a different climate zone next week.
What a Correct Job Looks Like — A Homeowner's Checklist
You don't need to be a builder to check the basics. Before siding closes in your window openings, it's reasonable to ask your contractor to confirm:
- Every opening has a sloped sill pan, not just caulk at the bottom of the frame.
- Flashing is layered sill, then jambs, then head — never head first.
- The house wrap laps over the flashing at the top of the window, not under it.
- Windows are shimmed and fastened so they open and close without binding.
- Fastener penetrations through the nail fin are sealed.
- Frame material matches what was specified and quoted — no unexplained substitutions.
If a contractor can't walk you through these points on your own job, that's worth a second opinion before the walls close up.
If you're building or framing in the Cordata area and want a straight answer on what your window openings need, we're happy to take a look and walk the site with you. Reach out for a free, no-pressure estimate — no obligation, just an honest read on the job.