 Ferndale Siding
 Building New on Lummi Island: What the Climate Actually Asks of Your Windows
Lummi Island sits out in the salt water of Whatcom County, and that changes what a window has to survive compared to a house a few miles inland in Ferndale or Bellingham. Salt-laden air corrodes unprotected metal hardware over time. Wind off the water drives rain sideways into wall assemblies that would stay dry in a calmer spot. And the long stretch of damp, low-light months that brings on moss and mildew everywhere else in Whatcom County lingers even longer out here, because the marine air keeps everything a little wetter, a little longer. None of this means island homes need exotic products. It means the frame material, the hardware, and the installation details all need to be chosen and executed with that exposure in mind from the start.
On a new build, you get one real chance to get this right. The window openings are cut into the framing once, the weather-resistive barrier goes on once, and the flashing sequence either sheds water correctly for the next several decades or it doesn't. Fixing a poorly integrated window after the siding and interior finishes are in is a much bigger job than getting it right during framing.
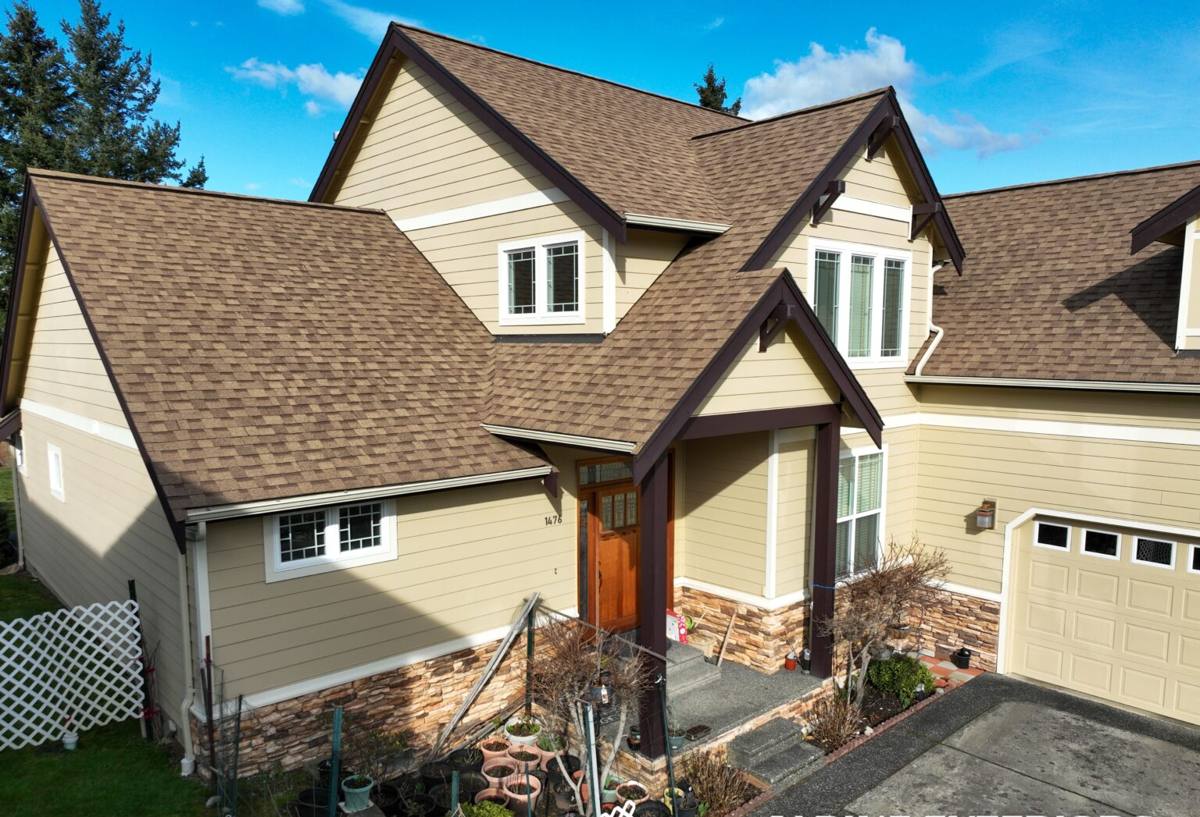
New Construction Is a Different Job Than Replacement
A lot of window marketing lumps "new construction" and "replacement" together, but they're genuinely different scopes of work. Replacement windows go into an existing, already-weatherproofed opening — the trim, siding, and flashing around the hole are already there, and the goal is to disturb as little of that as possible. New-construction windows have a nailing flange that gets integrated directly into the rough opening, the house wrap, and the flashing system before any siding goes on. That gives us full control over the water management details, but it also means every layer — sill pan, jamb flashing, head flashing, sealant — has to be sequenced correctly the first time, because there's no siding to pull off and redo later without real cost.
For a Lummi Island build, that sequencing matters more than usual. Wind-driven rain off the water will find any gap in a flashing detail that would never get tested by rain falling straight down. A window that's "close enough" on a sheltered inland lot can leak on an exposed island site.
What "correct" looks like in the framing stage
- Rough openings sized and squared to the window manufacturer's tolerances, not just close enough to fit
- Sill pan flashing with a back dam, sloped so any water that gets past the window drains back outside the wall, not into the framing
- Weather-resistive barrier lapped shingle-style (upper layers over lower layers) so water sheds down and out
- Head flashing or a drip cap integrated above the window before the WRB above it is lapped over the flange
- Non-organic shims at the jambs and sill, so nothing inside the wall cavity gives moss or rot a foothold
- Sealant rated for exterior, marine exposure at the flange — not a generic caulk that hardens and cracks in a season or two
Frame Materials for a Salt-Air, High-Moisture Site
There isn't one "correct" frame material for every project, but on an exposed island site some trade-offs matter more than they would inland. The table below is how we walk homeowners and builders through the decision.
| Frame Material | Salt-Air / Corrosion Behavior | Maintenance Over Time | Best Fit |
|---|---|---|---|
| Vinyl | Frame itself doesn't corrode; hardware quality varies by manufacturer | Low — occasional rinse to clear salt film and moss buildup from tracks | Budget-conscious new builds where hardware is upgraded to coastal-rated components |
| Fiberglass | Very stable dimensionally and resists corrosion well; among the more forgiving choices near salt water | Low — holds paint and finish longer than wood, minimal seasonal upkeep | Homeowners who want a long-term, low-maintenance window and are comfortable with the higher upfront cost |
| Aluminum-clad wood | Exterior face resists weather well; any exposed or scratched metal is a corrosion point in salt air | Moderate — cladding needs to stay intact, and any breach should be addressed promptly | Homeowners who want a wood interior look and are diligent about upkeep |
| Bare aluminum | Most exposed to salt-driven corrosion of the group without additional coatings | Higher — regular inspection and cleaning needed to keep corrosion from taking hold | Generally not our first recommendation for direct island exposure unless it's a marine-rated, coated product |
Whatever frame material a homeowner or builder chooses, we push just as hard on the hardware — hinges, locks, and fasteners — because that's often where salt-air corrosion shows up first, even on a frame that's holding up fine. Stainless steel or coated corrosion-resistant fasteners cost a little more up front and save a callback in a few years.
Getting the Water Management Right
Most window failures we get called out to fix, on any house in this part of Whatcom County, trace back to flashing details rather than the window unit itself. On a new build facing open water, we treat the flashing sequence as the part of the job that determines whether the window performs for the next 20-plus years.
The sequence we follow
- Rough opening inspected for square, level, and correct dimension before the window ever shows up on site
- Sill pan installed with a back dam and a slight outward slope, so incidental water has somewhere to go
- Window set, shimmed, and fastened per the manufacturer's schedule — not just "enough screws to hold it"
- Jamb flashing tape applied over the nailing flange, then head flashing installed and lapped correctly with the WRB above it
- Exterior sealant applied at the specified points only — sealing everywhere isn't the goal, sealing correctly is, since trapped moisture behind an over-sealed flange can do more harm than good
- Interior air sealing with a low-expansion foam or backer rod and sealant, so conditioned air isn't leaking out around the frame
Skipping or rushing any one of these steps is exactly the kind of thing that doesn't show up as a problem for a year or two — then shows up as a stained sill, a soft spot in the framing, or moss creeping in around the trim during the next wet stretch.
Wind, Rain, and the Performance Ratings Worth Paying Attention To
Window labels carry a lot of numbers, and not all of them matter equally on an exposed island lot. Here's what we actually weigh in on with clients building on Lummi Island:
- Design Pressure (DP) rating — tells you how much wind and structural load the window is rated to handle. A site with open water exposure deserves a closer look at this than a sheltered inland lot.
- U-factor — measures how well the window resists heat loss. Washington's energy code sets minimums, and a well-chosen U-factor keeps heating costs down through our long wet winters.
- Air infiltration rating — lower is better; it's a direct measure of how much wind-driven air (and the moisture it carries) can work its way in around a closed window.
- Condensation resistance — relevant in a climate that stays damp and cool for long stretches, since a window that condenses heavily on the interior face is feeding the same moisture problems you're trying to keep outside.
We don't chase the single "best" number on a spec sheet. We match the rating package to the specific exposure of the lot — a window on the water side of a Lummi Island build earns a harder look at DP rating and air infiltration than the same window would on a sheltered inland wall.
Our New-Construction Window Process
We work as part of the build team, not as a late add-on, and that starts before the windows are ever ordered.
1. Plan review and window schedule
We go through the plans with the builder or homeowner and confirm sizes, egress requirements for bedrooms, and rough opening dimensions before anything is ordered — catching a sizing mismatch on paper is a lot cheaper than catching it once framing is done.
2. Ordering with real lead time
Custom sizes and marine-rated hardware upgrades take time to manufacture, and getting materials to an island site adds its own scheduling layer. We order early and build in a buffer so a shipping delay doesn't stall the framing crew.
3. Rough opening prep and flashing
This is the sill pan, WRB integration, and flashing sequence described above, done before the window goes in — not patched around it afterward.
4. Installation and fastening
Set, shimmed, and fastened to the manufacturer's schedule, with corrosion-resistant hardware where the site calls for it.
5. Sealing and interior finish coordination
Exterior sealant at the correct points, interior air sealing, and coordination with the siding and trim crews so the whole assembly ties together correctly.
6. Final walk-through
We check operation, seals, and flashing visibility on every unit before we call the job done.
Why a Crew That Already Works Lummi Island Is Worth Choosing
Lummi Island is only reachable by ferry, and that one fact changes how a construction schedule has to work. Crews who don't regularly cross over tend to underestimate how much a missed ferry run or a scheduling mismatch can cost a build in idle time and extra trip charges. We plan material deliveries and crew days around the ferry schedule and batch our trips so a build doesn't pay for our logistics inefficiency.
There's also a practical, local-knowledge side to it. Lummi Island falls under Whatcom County's building jurisdiction, so the same permitting, inspection, and Washington State Energy Code requirements that apply elsewhere in the county apply here — but the scheduling coordination with inspectors, and the realities of getting materials and equipment to and from the island, are things you only get efficient at by doing it regularly. A crew that's already worked island jobs isn't guessing at any of this.
And because we're a Ferndale-based crew, we're not driving in from out of the area for a one-off job — we're close enough to be responsive if something needs a second look after the walk-through, and we're building a track record in this specific climate, not a generic one.
New-Construction Window Checklist for a Lummi Island Build
Whether you're a homeowner working with a builder or a builder bringing in a window subcontractor, this is worth walking through before installation starts:
- Frame material and hardware selected with salt-air exposure in mind, not just budget
- Fasteners specified as stainless or coated corrosion-resistant, especially near the water side of the structure
- Sill pan flashing with a back dam included in the install plan, not left to installer discretion on site
- WRB lap sequence and flashing order confirmed before the windows arrive
- DP rating and air infiltration numbers matched to the site's actual wind exposure
- U-factor and condensation resistance checked against Washington State Energy Code minimums
- Egress sizing confirmed for all bedroom window openings
- Delivery and install schedule built around ferry logistics, with a buffer for weather delays
- Final walk-through scheduled to check operation and flashing before siding and trim close everything up
What to Expect After You Move In
Even a correctly installed window on Lummi Island will show the effects of the marine climate over time, and that's normal, not a defect. Expect to rinse salt film and clear moss or algae from tracks and sills a couple of times a year, more often on north- and west-facing units that stay shaded and damp longest. Keep an eye on exterior sealant joints during the wetter months and have anything that looks cracked or pulled away re-sealed before it becomes a path for water. A window installed correctly during new construction should need very little beyond that kind of routine upkeep — which is exactly why getting the framing-stage details right matters as much as it does.
If you're planning a new build on Lummi Island, or you're a builder looking for a window crew who already knows the site logistics and the climate demands, we're happy to talk through the specifics. Reach out for a free, no-pressure estimate using the form below.