 Ferndale Siding
 Why Lummi Island Roofs Wear Differently
Lummi Island sits out in the Salish Sea, reached by a short ferry crossing from the mainland near Ferndale. That location is part of what makes the island beautiful, and it's also why roofs out there age differently than roofs a few miles inland in Whatcom County. A house on the island gets more direct exposure to salt-laden marine air, more wind off open water, and — on the wooded and north-facing lots — long stretches of shade that never quite let the roof dry out. Add in the region's driving rain, which comes in sideways during winter storms rather than falling straight down, and you've got a roofing environment that's tougher on materials than a typical suburban roof.
None of this means island homes need exotic materials or gimmicks. It means the details of the job — fasteners, flashing, ventilation, underlayment, and moss control — matter more than they would on a sheltered mainland lot. A roof replacement done without accounting for those details tends to show problems early: rusted fasteners, lifted shingles at the eaves, moss creeping under the roofing, or leaks at flashing points that were never sealed for this kind of exposure.
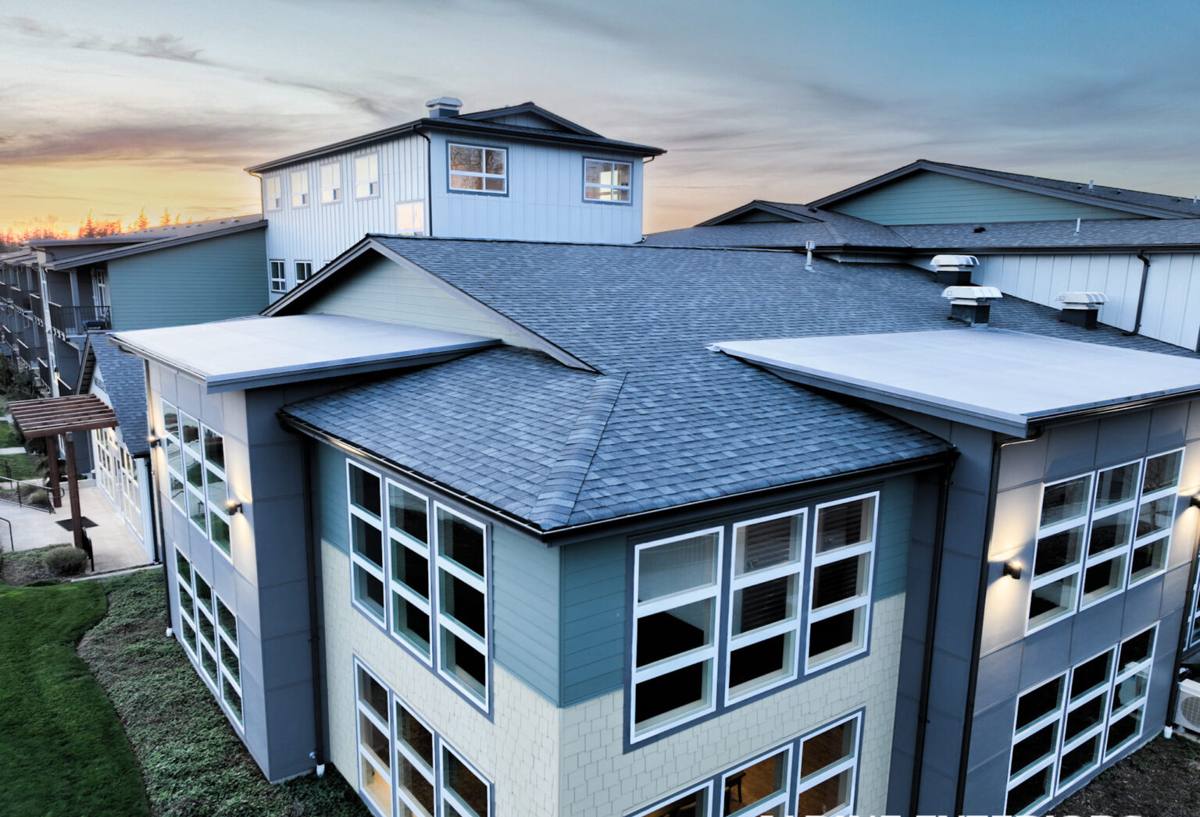
Salt Air and Coastal Wind: What They Actually Do to a Roof
Salt air is corrosive, full stop. Over time it attacks exposed metal — nail heads, flashing, vent caps, gutter hardware — faster than it would a few miles inland. On a roof that was installed with standard-grade fasteners, that corrosion can show up as rust streaking, weakened nail heads, or flashing that fails years before it should.
Wind is the other factor. Waterfront and elevated lots on Lummi Island catch more sustained wind than sheltered inland sites, and wind-driven rain will find any gap in flashing, underlayment, or shingle sealant that a calmer climate might never expose. Over years, that repeated wind-driven moisture is what causes granule loss, lifted shingle tabs, and slow water intrusion at valleys and roof penetrations.
None of this is a reason to over-engineer a roof. It's a reason to be deliberate about a few specific things:
- Using corrosion-resistant fasteners and flashing rated for coastal exposure, not the cheapest standard-grade option
- Following manufacturer nailing patterns exactly, including the extra fasteners specified for higher wind zones
- Sealing every penetration — vents, skylights, chimneys — with materials rated for sustained moisture exposure
- Choosing shingle or panel products with wind-resistance ratings that match the exposure, not just the cheapest option in stock
Moss, Shade, and Standing Moisture: The Long Season
Western Washington's moss season is long because the conditions that grow moss — mild temperatures, high humidity, and long stretches without direct sun — are present most of the year, not just in the wettest months. On Lummi Island, tree cover and the marine humidity make north-facing slopes and shaded sections of roof especially prone to it.
Moss isn't just cosmetic. It holds moisture directly against the roofing surface, which keeps shingles wet far longer than they're designed to stay. Over time, moss roots and rhizoids work their way under shingle tabs and lift them slightly, which is exactly what lets wind-driven rain get underneath. On older roofs, moss growth is one of the most common reasons we find soft or rotted sheathing during a tear-off — the moss did its damage slowly, out of sight, for years before anyone noticed.
A correct roof replacement should include moss prevention as part of the plan, not as an afterthought homeowners have to handle later. That usually means zinc or copper control strips near the ridge, which release trace metals with every rain and inhibit new moss growth on the slopes below, along with a shingle or panel choice that resists moss better in shaded conditions.
Choosing a Roofing System That Fits Island Conditions
There's no single "best" roofing material for every Lummi Island home — the right choice depends on the lot's exposure, the home's style, and the budget. What matters is understanding the real trade-offs for this specific climate rather than picking based on price alone.
| Material | Wind & Salt Air Performance | Moss Resistance | Typical Lifespan Here |
|---|---|---|---|
| Architectural asphalt shingle | Good, with correct nailing pattern and corrosion-resistant fasteners | Moderate — benefits from zinc/copper strips | 20–30 years |
| Standing-seam metal | Excellent wind uplift resistance; needs coated fasteners and trim to manage salt exposure | Very good — sheds moss more easily due to smooth, sloped surface | 40–50+ years |
| Synthetic/composite shake | Good; check manufacturer wind rating for coastal exposure | Moderate to good depending on product | 30–50 years |
| 3-tab asphalt shingle | Weaker wind rating than architectural shingles; not our recommendation for exposed island lots | Lower — thinner profile traps moisture more easily | 15–20 years |
For most Lummi Island homes we recommend architectural shingles or metal as the baseline, simply because both hold up better to sustained wind and salt exposure than a basic 3-tab shingle. Metal costs more up front but often makes sense on exposed, hard-to-access, or heavily shaded lots where fewer future service trips is a real advantage — not because 3-tab shingles are a bad product everywhere, just that they're not the strongest match for this particular exposure.
What a Correct Roof Replacement Actually Involves
A roof replacement is more than stripping old shingles and nailing down new ones. Done right, it's a sequence of steps where each one protects the next:
- Full tear-off to the deck — covering over old roofing traps moisture and hides deck problems; on an island roof that's had years of moss and moisture exposure, seeing the actual sheathing matters.
- Deck inspection and repair — any soft, delaminated, or rotted plywood gets replaced before anything new goes down. This is often where hidden moss or leak damage shows up.
- Ice-and-water barrier at eaves, valleys, and penetrations — a self-adhering membrane in the areas most exposed to wind-driven rain, not just the code minimum.
- Synthetic underlayment across the field — more tear- and moisture-resistant than old-style felt, especially useful during the install itself if weather rolls in mid-project.
- Corrosion-resistant flashing and fasteners — at every chimney, vent, skylight, and roof-to-wall intersection, sized and sealed for this climate rather than the bare minimum.
- Manufacturer-spec nailing pattern — including upgraded fastener counts where wind exposure calls for it.
- Balanced ridge and soffit ventilation — proper airflow keeps the underside of the deck dry, which matters as much as what's happening on top given the region's humidity.
- Moss-inhibiting strips — installed near the ridge on shaded or north-facing slopes.
Skipping or shortcutting any one of these is usually how a roof that looks fine for the first year or two starts leaking or growing moss again by year five.
Our Process for a Lummi Island Job
Working on an island changes the logistics of a roofing project, even though the roofing itself is the same craft we do anywhere in the Ferndale area. We plan material deliveries and crew scheduling around the ferry crossing so the job isn't stalled waiting on a second trip for something that should have come over the first time. That means a more thorough materials list up front, and a bit more buffer time built into the schedule for weather or crossing delays.
We also stage the job to minimize round trips — dumpster or debris haul-off, equipment, and materials are planned together rather than piecemeal, since every extra crossing costs time on both ends. None of this changes the quality of the work; it just means the planning phase gets more attention before the first shingle ever comes off.
Before we start, we walk the roof and the property with the homeowner, explain what we're seeing, and lay out the material and labor plan in writing. No surprises mid-project, and no changes made without talking it through first.
After Installation: Keeping Moss and Salt Damage at Bay
A new roof on Lummi Island will hold up a lot longer with a little seasonal attention. None of this requires climbing on the roof yourself — most of it is visual and can be checked from the ground or with binoculars.
- Look for moss regrowth on shaded, north-facing slopes each fall and spring
- Keep gutters clear so water isn't sitting against the roof edge or fascia
- Trim back overhanging branches that keep sections of roof shaded and damp
- After major windstorms, do a visual check for lifted shingle tabs or displaced flashing
- Rinse visible moss or algae buildup with plain water rather than pressure-washing, which can strip granules
- Have the roof looked at professionally every few years, especially after the first major storm season
Why a Crew That Already Works Lummi Island Matters
Any licensed roofing crew can technically install a roof. What's different about a crew that regularly works Lummi Island is that we're not learning the logistics on your project. We already know how to plan material loads around a ferry schedule, how much extra time to budget for weather on an exposed lot, and which details — fastener grade, flashing type, moss control — actually matter for a roof that's going to sit in salt air and shade for the next few decades. That experience shows up as fewer surprises, fewer delays, and a roof that's built for the conditions it's actually going to face, not just the conditions on a spec sheet written for the mainland.
If you're planning a roof replacement on Lummi Island, we're happy to come take a look, walk the roof with you, and put together a straightforward, no-pressure estimate — no obligation, just an honest read on what your roof needs. Use the form below to get started.