 Ferndale Siding
 Why New Construction Is the One Chance to Get Windows Right
On a remodel, a bad window install can usually be found and fixed later, at real expense but without tearing a house apart. On new construction, the window opening is only exposed once. Whatever flashing, sealant, and fastening decisions get made before the siding goes on are the decisions that house lives with for the next 30-plus years. In Ferndale and here in Bellingham, that first-pass work matters more than in drier parts of the country, because our weather doesn't forgive shortcuts — it finds them.
We install new-construction windows for builders and homeowners across Whatcom County, and Bellingham jobs make up a steady share of that work. The framing, the wall assembly, and the trim details on Bellingham builds are consistent enough that we've settled on a sequence we trust, and we don't deviate from it just to save an hour on a busy framing schedule.
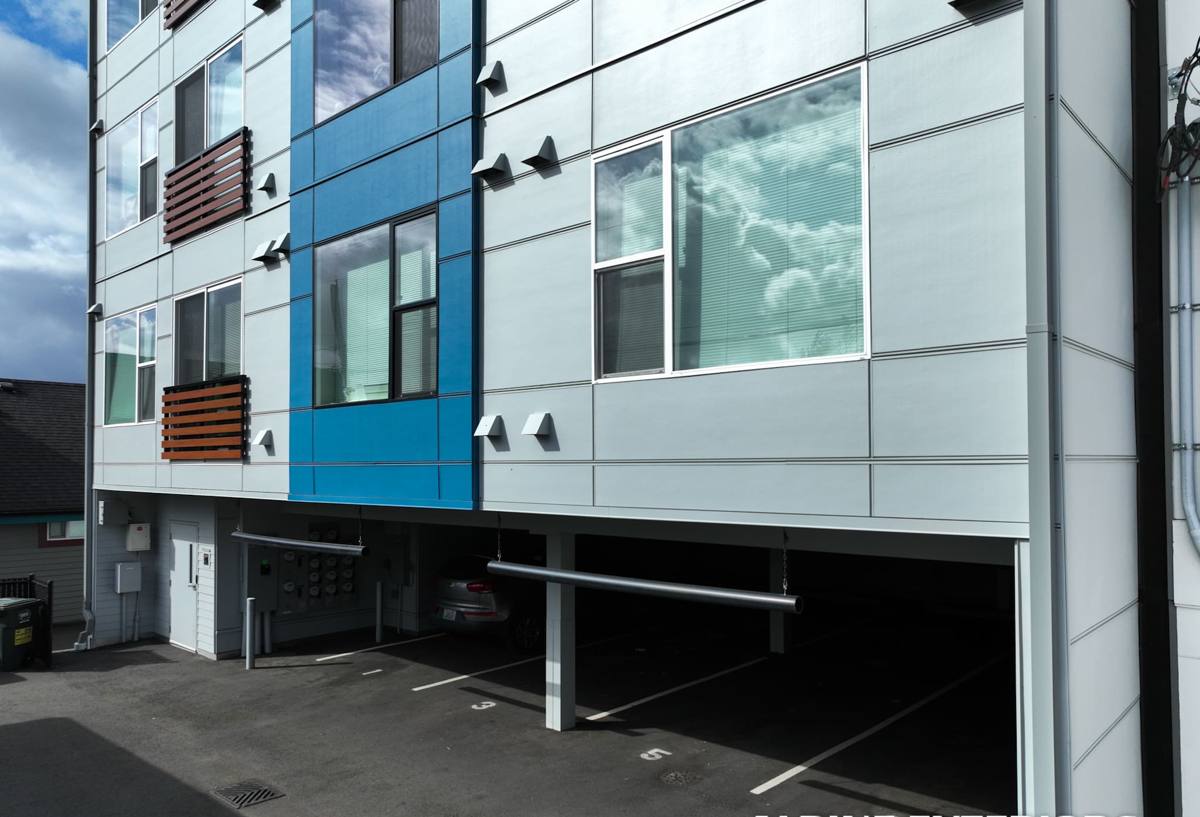
What Bellingham's Climate Actually Does to a Window Opening
Bellingham sits on the Salish Sea, and that proximity brings three things that directly affect window performance: sustained wind-driven rain off the water, salt-laden air that accelerates corrosion on exposed metal, and a long wet season that keeps wall assemblies damp for months at a stretch. None of this is exotic — it's just persistent, which is exactly the kind of stress that exposes a marginal install.
- Wind-driven rain: Storms coming off the water don't just fall straight down — they push rain sideways into vertical wall assemblies, which means water finds any gap at the head, jamb, or sill that a calmer climate might never test.
- Salt air: Homes closer to Bellingham Bay see faster corrosion on fasteners, hinges, and uncoated flashing metal than homes further inland in Whatcom County.
- Moss and moisture season: Long stretches of cool, wet weather keep sheathing and framing damp longer, so any water that does get behind a window has more time to do damage before a dry spell shows up to help it out.
None of this means Bellingham requires exotic window technology. It means the installation details — the parts nobody sees once the siding is up — have to be done correctly the first time.
Nail-Fin Windows: The Standard for New Construction
New-construction windows are built with a nailing fin around the perimeter of the frame, designed to be fastened directly to the wall sheathing and integrated into the water-resistive barrier (WRB) before any exterior finish goes on. This is different from a replacement or "pocket" window, which is designed to slide into an existing frame after the fact and relies more heavily on sealant and less on flashing integration.
The nail-fin approach is the right one for new builds because it lets the window become part of the wall's drainage plane rather than something bolted onto it afterward. Done correctly, water that reaches the wall surface is shed down and out, never behind the window. Done poorly — fin taped over instead of properly lapped, or fastened without a sill pan — it becomes one of the more common sources of hidden rot in newer homes.
The Installation Sequence We Follow
There's no shortcut version of this that holds up in a marine climate. The order of operations is what makes the assembly work, and skipping or reordering steps is where most window leaks in new construction actually originate.
- Rough opening check: Confirm the opening is square, level, and sized correctly before the window ever gets set — shimming a poorly framed opening after the fact is how bows and air gaps happen.
- Sill pan flashing: A sloped, sealed sill pan goes in first, so any water that ever reaches the sill is directed back outside the wall plane instead of pooling against the sheathing.
- Window set and fastened: The unit is set into the pan, checked for plumb and square, and fastened per the manufacturer's schedule — not just "enough nails to hold it."
- Jamb flashing: Self-adhered flashing tape covers the side fins, lapping over the sill pan below.
- Head flashing: A head flashing or drip cap goes above the window, and the WRB above it laps over the top — never tucked behind it — so water sheds over the window, not into it.
- WRB integration: The building paper or house wrap is shingle-lapped over every flashing layer in the correct order, maintaining a continuous drainage path down the wall.
- Interior and exterior sealant: Backer rod and sealant finish the assembly where needed, without relying on caulk to do a flashing detail's job.
Every one of these steps is inspectable before siding goes on, and that's exactly when we want a builder, inspector, or homeowner to look at it — not five years later when a stain shows up on interior trim.
Where This Goes Wrong Most Often
The mistakes we see most on Bellingham-area new builds aren't dramatic — they're small sequencing errors that don't show symptoms for years:
- Head flashing installed but WRB tucked under it instead of over it, reversing the intended drainage path.
- No sill pan, with the fin and sealant expected to do all the work alone.
- Fasteners run through the fin at the wrong spacing or angle, distorting the frame and breaking the weather seal at the corners.
- Sealant used as a substitute for proper flashing lap, which fails well before the siding does.
Choosing Frame Material and Glass for This Climate
Frame material and glass package matter less for whether a window leaks and more for how it performs and holds up over the decades that follow. In a marine climate with salt air and long wet seasons, the trade-offs are worth understanding before a builder or homeowner locks in a spec.
| Frame Material | Moisture / Salt-Air Behavior | Maintenance | Typical Fit |
|---|---|---|---|
| Vinyl | Won't corrode or rot; performs well in salt air | Low — no painting or sealing needed | Most cost-effective, widely used on Bellingham new builds |
| Fiberglass | Excellent stability in temperature and moisture swings, strong salt-air durability | Low | Higher upfront cost, longer service life expectations |
| Wood-clad | Good performance if cladding and flashing details are done right, but any breach exposes wood to our wet season | Moderate — exterior clad protects wood, interior wood may need occasional attention | Chosen mainly for interior wood appearance |
On glass, a dual-pane Low-E unit with argon fill and a moderate U-factor is the standard spec for this region — it's built for a cool, wet, moderate climate rather than extreme heat or extreme cold, and it's what performs best against our fall-to-spring rain and wind pattern. We'd rather spec glass matched to how Whatcom County actually behaves than sell a higher package that's built for a climate we don't have.
Coordinating With Builders and Other Trades
New-construction window installs don't happen in isolation — they sit in the middle of a schedule between framing, WRB, and siding crews. Getting the sequence right depends on showing up at the right point in that schedule, not before the opening is ready and not after the WRB has already been run without leaving room for proper flashing laps.
We coordinate directly with general contractors and framers on timing, confirm rough opening dimensions against the window order before anything is installed (a mismeasured opening caught before the window arrives is a phone call; caught after is a delay), and walk each opening with whoever is running the WRB so the lapping sequence is agreed on before either crew starts.
Our Process, Start to Finish
- Plan review: We review window schedules and rough opening sizes against the actual framing before ordering.
- Pre-install walkthrough: Every opening is checked for square, level, and correct size before a single window is set.
- Flashing and install: Sill pan, window set, jamb and head flashing, and WRB integration performed in the sequence above.
- Photo documentation: Key flashing steps are documented while they're still visible, before siding covers them.
- Final check: Every unit is checked for proper operation, square reveal, and sealed perimeter before we consider the opening complete.
A Practical Checklist for Builders and Homeowners
Whether you're a builder managing your own site or a homeowner watching your new build go up, these are the things worth confirming before siding covers the window openings for good:
- Sill pan flashing installed and sloped to drain outward, not just a bead of sealant.
- Head flashing installed with the WRB lapped over it, not tucked underneath.
- Jamb flashing lapped in the correct shingle-style order over the sill pan.
- Fasteners at manufacturer-specified spacing, not just "enough to hold it in place."
- Frame checked plumb, level, and square — not just visually straight.
- Sealant used to finish the assembly, not to substitute for missing flashing.
- Photos taken of flashing details before they're covered by siding.
Why Local Experience Matters Here
Window installation instructions read the same everywhere in the country, but how a wall assembly actually behaves under sustained wind-driven rain off the water, or how fast an uncoated fastener corrodes with salt air in the mix, is something you learn by working this specific stretch of Whatcom County, not by reading a spec sheet. A crew that's set windows on Bellingham new builds through a full wet season already knows where standard details need to be treated as the minimum, not the finish line.
We're a Ferndale-based crew that works Bellingham regularly, which means we're not guessing at how this coastline treats a wall assembly over time — we're building to what we've already seen hold up and what we've seen fail.
If you're planning new construction in Bellingham and want windows installed with the flashing and sequencing done right the first time, we're glad to walk your plans and openings with you. Reach out for a free, no-pressure estimate using the form below.