 Ferndale Siding
 Building New in Blaine? Get the Windows Right the First Time
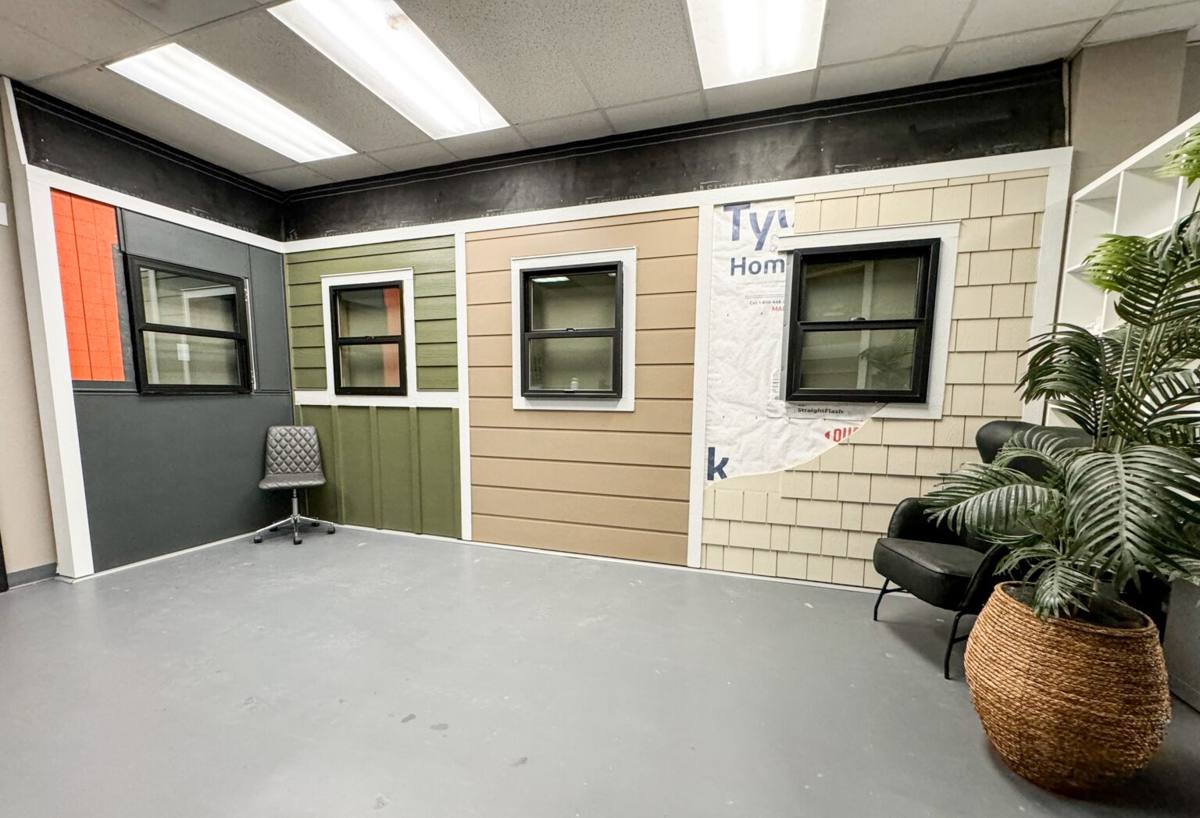
New-construction windows are a different job than a replacement window drop-in, and Blaine is a different climate than most of the country. You're this close to the Strait of Georgia and Semiahmoo Bay, which means salt-laden air, wind-driven rain off the water, and long gray stretches where moss and algae get a foothold on anything that stays damp. A new-construction window installed correctly, into a wall system that's built to shed water instead of trap it, will outlast a rushed job by decades. Get it wrong at the framing stage and you're chasing rot and callbacks for years. We build new-construction window openings and set the windows themselves for homes throughout Ferndale and Blaine, and we've built our process around exactly this coastal Whatcom County exposure.
What Blaine's Climate Actually Does to a Window Opening
Homeowners moving here from drier inland climates are sometimes surprised how much the local weather matters to a window install. It's not just "it rains a lot" — it's the combination of factors that stacks the deck against a sloppy job.
Salt Air
Being near the water means airborne salt settles on siding, trim, and window hardware. Over time salt is corrosive to lower-grade fasteners, cheap flashing tape, and unprotected metal components. It also draws moisture, so surfaces near the coast tend to stay damp longer than the same surfaces further inland.
Driving Rain
Whatcom County storms frequently come with real wind behind them, and wind-driven rain doesn't fall straight down — it gets pushed sideways and upward under laps, behind trim, and into any gap in a window's flashing. A window opening that would be fine in a calm-rain climate can leak here if the flashing sequence isn't built to handle rain moving in more than one direction.
Long Moss Season
Blaine gets extended stretches of overcast, damp weather where surfaces simply don't dry out for days or weeks at a time. That's ideal growing conditions for moss and algae on horizontal trim, sills, and anywhere water is allowed to sit instead of drain. Moss holds moisture against wood and siding, which accelerates rot underneath even when the surface still looks intact.
None of this means new-construction windows can't be done right in Blaine — it means the opening has to be built assuming water will reach it, and detailed so that water always has somewhere to go.
What a Correct New-Construction Window Job Actually Involves
New-construction windows have a nailing fin and get installed before the siding goes on, which gives us the chance to build the water management into the wall from the studs out — something you can't fully do on a retrofit. The steps matter, and skipping any one of them is how leaks start showing up two or three winters later.
- Rough opening prep — squaring and sizing the opening correctly, with the sill sloped slightly outward so water drains away from the house instead of pooling at the window.
- Sill pan flashing — a formed or built-up pan under the window that catches any water that gets past the window itself and directs it back outside, not into the wall cavity.
- Weather-resistive barrier integration — the housewrap or building paper has to lap correctly with the flashing in the right shingle-style order so water always moves downward and outward, never gets trapped behind a lap.
- Window fin flashing — flashing tape or metal at the sides and head of the window, sequenced so the head flashing laps over the side flashing, which laps over the sill pan.
- Head flashing with drip cap — extra protection above the window to break up water flow before it reaches the top of the frame, especially important under any wall area exposed to prevailing wind-driven rain.
- Fastening and shimming — the window has to be shimmed plumb, level, and square, and fastened per the manufacturer's schedule so the frame doesn't rack or bow, which is its own source of air and water leaks.
- Interior and exterior air sealing — low-expansion foam or backer rod and sealant around the frame, sealing the air barrier without over-filling the space in a way that bows the frame.
- Trim and final sealant details — exterior trim installed and sealed at the top and sides but with the bottom left open or weeped, so any water that does get behind the trim has somewhere to escape instead of being sealed in.
Every one of those steps is normal, well-documented window installation practice. What separates a good job from a problem job is doing every step, in the right order, every time — not skipping the sill pan because the crew is behind schedule, or caulking the bottom of the trim shut because it looks cleaner.
Our Process for Blaine New-Construction Projects
We work with builders, general contractors, and homeowners managing their own build. Our process is the same regardless of who's coordinating the job, because the window opening doesn't care who's in charge — it only cares whether it was built right.
- Plan review and product selection. We look at the elevations, window schedule, and specific exposure of each opening — a window on the water-facing side of the house gets treated differently than one tucked under a covered porch.
- Flashing and drainage plan. Before a single window is set, we walk the framing and confirm sill heights, WRB lap sequencing, and where head flashing and drip caps are needed most.
- Window setting. Sill pan, side and head flashing, shimming, fastening, and air sealing, done to the sequence above and to the manufacturer's installation instructions — which matters for warranty coverage, not just performance.
- Trim and exterior integration. Coordinating with siding installation so the window's flashing laps correctly under whatever cladding is going on next, with weep paths left open at the bottom of trim.
- Walkthrough. A final check of every opening before the wall is closed up behind siding, because a flashing mistake is cheap to fix before the siding goes on and expensive to fix after.
Why Hire a Crew That Already Works in Blaine
Window flashing details that work fine in a mild, dry climate can fail here, and a crew that mostly installs inland or in different weather patterns may not think to build in the extra margin Blaine's coastal exposure calls for. Working this area regularly means we already know which walls take the worst of the wind-driven rain, how much salt exposure to plan for near the water, and how long surfaces stay damp during the fall and winter moss season. That's not something you learn from a spec sheet — it's something you learn from doing the work here, season after season, and going back to see what held up and what didn't.
There's also a practical builder-relationship side to this. New-construction scheduling depends on trades showing up on time and not holding up the next crew. A contractor with local roots in Whatcom County has a reputation to protect with the builders and homeowners they work with repeatedly — that's a real incentive to do the flashing right the first time rather than rush it and hope.
Comparing Window Installation Approaches
| Approach | Sill Pan Flashing | WRB Lap Sequencing | Best Suited For |
|---|---|---|---|
| Minimum-code install | Often skipped or minimal | Basic, not always shingle-lapped | Dry inland climates with less wind-driven rain |
| Standard coastal install (our approach) | Full sill pan, sloped to drain | Fully shingle-lapped with taped seams | Blaine and other Whatcom County coastal exposures |
| High-exposure detailing | Sill pan plus supplemental head flashing/drip cap | Shingle-lapped with reinforced head detail | Water-facing walls, upper stories exposed to prevailing wind |
We scope each opening individually rather than applying one standard to the whole house — a sheltered window on a covered porch doesn't need the same detailing as an upper-floor window facing open water.
Cost Factors for New-Construction Windows in Blaine
Costs for new-construction window packages vary by window count, size, product line, and how much site-specific flashing work each opening needs. Rather than quote a number that won't match your project, here's what actually moves the price:
| Factor | Why It Matters |
|---|---|
| Window size and count | Larger openings and more windows mean more material and labor per elevation. |
| Product line and glazing package | Higher-performance glass and frame materials cost more up front but hold up better to salt air and temperature swings. |
| Exposure per opening | Water-facing or upper-story windows may need extra flashing detail, which adds labor time. |
| Coordination with siding | Sequencing window install with siding trades can affect scheduling and site-visit costs. |
| Access and site conditions | Scaffolding or lift access for upper floors adds cost versus straightforward ground-level openings. |
A Homeowner's Checklist for New-Construction Window Quality
If you're managing your own build or just want to know what to look for during a walkthrough, this covers the basics:
- Sill under each window is sloped outward, not flat or sloped inward.
- Flashing tape or metal is visible in a proper shingle-lap order: sill, then sides, then head.
- No caulk-only "flashing" — sealant is a backup, not a substitute for physical flashing material.
- Bottom of exterior trim is left open or weeped, not fully caulked shut.
- Windows are shimmed square and don't bow or rack when the sash is opened and closed.
- Fastening follows the manufacturer's schedule, not a generic "however many nails looked right" approach.
- Weather-resistive barrier laps correctly with the window flashing before siding goes on.
Let's Talk About Your Blaine Build
Whether you're framing a new home in Blaine or coordinating windows for a build already underway, we're glad to walk the site, review your window schedule, and talk through what the flashing and drainage plan should look like for your specific exposure. Reach out for a free, no-pressure estimate using the form below.