 Ferndale Siding
 Storm Damage Roof Repair in Marietta: What Homeowners Need to Know
Marietta sits close enough to the water that its roofs take a different kind of beating than roofs a few miles inland. When a windstorm rolls through Whatcom County off the water, homes here catch wind-driven rain at angles that push moisture up under shingle edges rather than letting it run straight off. Add in salt-tinged marine air that speeds up corrosion on fasteners and flashing, and a moss season that runs long on shaded roof slopes most of the year, and you've got a roof that's working harder than a typical inland roof even on a calm day. After a storm, that combination is exactly why damage here often shows up in places a homeowner wouldn't think to check.
This page covers what storm damage actually looks like on a Marietta roof, what a correct repair involves, and how our process works when you call us after a storm. It's written for the homeowner who wants to understand what they're paying for, not just get a number over the phone.
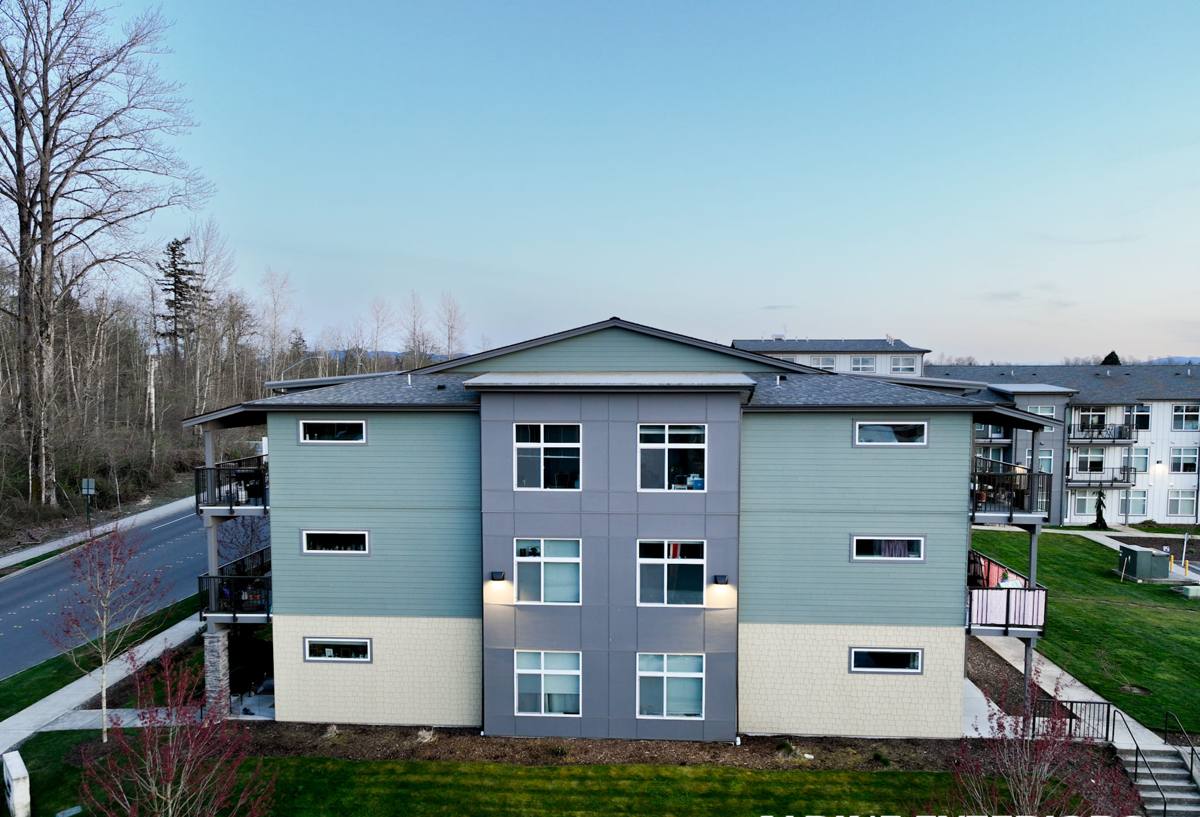
What Actually Counts as Storm Damage
Not everything that looks wrong on a roof after a storm was caused by that storm, and not everything caused by a storm is obvious from the ground. Sorting out which is which is the first real job of an inspection.
Wind Damage
Sustained wind or strong gusts can lift shingle tabs, break the seal strip that holds shingles flat, or tear shingles off entirely along ridges and edges where wind pressure concentrates. Lifted shingles that reseal on their own after the wind dies down can still have a broken seal underneath — they'll look fine from the ground but are no longer watertight.
Impact Damage
Falling branches, wind-blown debris, or hail can bruise or puncture shingles, dent metal flashing and gutters, and crack ridge caps. Impact damage on asphalt shingles doesn't always look dramatic — a bruise can be a soft spot you feel more than see, and it still compromises the shingle's ability to shed water.
Water Intrusion at Flashing and Seams
Most storm-related leaks don't start in the open field of the roof — they start at flashing: valleys, chimney bases, skylight curbs, and wall intersections. Wind-driven rain finds any gap in a flashing lap or sealant joint and pushes water sideways and upward, which is a very different stress than the straight-down rain a roof is naturally built to shed. A storm doesn't have to be severe to expose an existing weak point in flashing that's been marginal for a while.
Why Marietta's Setting Adds to the Risk
Marietta's proximity to the water means homes here regularly get wind-driven rain and gusts that come off the water with less to slow them down than a roof further inland. That combination of salt air, driving rain, and a moss season that stretches through most of the wetter months isn't abstract weather trivia — it changes what actually holds up on a roof here.
Salt air accelerates corrosion on standard fasteners and lower-grade flashing metal faster than it would inland, which means nails and flashing that look fine on the surface can be more compromised underneath than their age would suggest. Wind-driven rain exploits underlayment laps and flashing details that would hold up fine against straight-down rain but fail against water pushed sideways and up. And moss, which thrives in the shade and dampness common on north-facing slopes in this area, holds moisture against the roof surface and works its way under shingle edges over time — weakening a spot that then fails outright the next time a storm puts real pressure on it. A repair crew that hasn't worked this specific stretch of coastline can miss all three of these, because they're not problems that show up the same way in a drier or less exposed climate.
What a Correct Repair Actually Involves
A storm repair that's done right is not just about covering the visible hole. It's about finding everything the storm actually compromised, including the parts that aren't leaking yet.
Inspection Before Anything Else
We walk the roof, not just look at it from the ground or a photo. That's the only way to catch a broken shingle seal, a bruised shingle that hasn't cracked yet, or a flashing lap that's been pushed open but hasn't let water through — yet. We document what we find before any work starts, so you know exactly what's being repaired and why.
Matching Materials and Technique
Repairs need to match the existing roof's material, color, and installation pattern as closely as possible, not just get something waterproof up there. A patch job that doesn't integrate properly with surrounding courses can create a new weak point right at its own edges.
Flashing Gets Fixed, Not Just Patched
Since most real leaks trace back to flashing, a correct storm repair re-laps or replaces damaged flashing rather than just running a bead of sealant over the problem. Sealant is a short-term fix; proper flashing work is the actual repair. Given how much wind-driven rain this area sees, this is one of the details that separates a repair that lasts from one that fails again in the next storm.
Repair or Replace? How to Tell the Difference
Storm damage doesn't automatically mean a full roof replacement, and it doesn't automatically mean a quick patch is enough either. The right call depends on a few specific factors.
| Factor | Leans Toward Repair | Leans Toward Replacement |
|---|---|---|
| Extent of damage | Isolated to one section or a handful of shingles | Scattered across multiple slopes or a large contiguous area |
| Roof age | Roof is well within its expected service life | Roof is already near the end of its expected lifespan |
| Underlying condition | Decking and underlayment are sound elsewhere | Inspection reveals rot, widespread moss damage, or failing underlayment |
| Material availability | Matching shingles are still reasonably available | Original product is discontinued and mismatched patches would be visible |
| Repair history | First storm-related repair on this roof | This is a repeat repair on the same area within a few years |
We'll give you an honest read on which side of that table your roof falls on, including telling you plainly when a repair is the right, less expensive call — a full replacement isn't automatically the better recommendation just because it's the bigger job.
Our Process From First Call to Final Walkthrough
After a storm, the first priority is stopping active water intrusion, then figuring out the full scope of what needs to be fixed.
- Initial call and scheduling: We ask what you're seeing — active leaks, missing shingles, visible debris damage — so we can prioritize based on urgency.
- On-site inspection: We walk the roof and document everything storm-related we find, including damage that isn't causing a visible leak yet.
- Written estimate: You get a clear breakdown of what's being repaired and why, not just a total number.
- Temporary protection if needed: If there's active water intrusion and the full repair can't happen immediately, we can address the most urgent exposure first.
- The repair itself: Matching materials, proper flashing work, and attention to the same details that let the storm cause damage in the first place.
- Final walkthrough: We go over what was done and answer any questions before considering the job complete.
Insurance Claims: What We Can and Can't Do
Many storm repairs go through a homeowner's insurance policy, and we're glad to help document damage in a way that supports a claim. That said, we're a roofing contractor, not an insurance adjuster or a public claims specialist, so we won't make promises about what a specific policy will or won't cover — that's between you and your insurer.
What we can do is give you a thorough, dated, photo-documented inspection and a detailed written estimate that itemizes the scope of damage and the repair. That kind of documentation is exactly what most adjusters want to see, and it's worth having whether or not you end up filing a claim. If your insurer sends their own adjuster, we're happy to walk the roof with them and point out what we found.
Reducing the Odds of a Repeat
Once a storm repair is done, there are a few practical steps that lower the odds of the same section failing again in the next windstorm or heavy rain event.
- Use corrosion-resistant fasteners and flashing metal appropriate for a marine-influenced climate, not standard-grade hardware that corrodes faster in salt air
- Keep gutters and downspouts clear so water isn't backing up under roof edges during heavy rain
- Trim back tree limbs that overhang the roof and could become the next storm's debris
- Address moss buildup on shaded slopes before it works its way under shingle edges
- Schedule a periodic roof check after major windstorms, even if nothing looks obviously wrong from the ground
- Make sure attic ventilation is adequate, since trapped moisture accelerates deck rot and weakens the roof from underneath over time
Why a Crew That Already Works Marietta Matters
A contractor who works this stretch of Whatcom County regularly knows which slopes hold moss longest, which flashing details tend to fail first under wind-driven rain, and how quickly standard fasteners corrode this close to the water. That's knowledge that comes from doing the work here repeatedly, not from a single job or a crew passing through after a storm looking for quick work. It also means we're still here next year if a warranty question comes up, not gone once the immediate rush of storm calls dies down.
If you've got storm damage on a Marietta roof — or you're not sure whether what you're seeing is storm-related or just wear that's been building for a while — we're happy to come take a look. There's no cost and no pressure for a straightforward inspection and a written estimate you can use however you need to.